


-
24 -
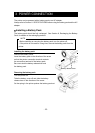
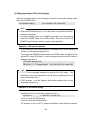
(2) Changing software DIP switch settings
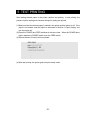
When the message shown at the following is printed in the function setting mode,
press the POWER switch.
Load Default Setting? Yes: Feed SW / No: Power SW
HINT
• There are DIP switches from 1 to 4 in the printer, so set 8 bits within DIP
switches respectively.
• In function setting mode, the POWER lamp blinks once by pressing
either the POWER switch or the FEED switch. Be sure to confirm the
POWER lamp blinking in order to ensure proper operation.
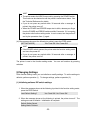
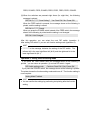
Operation 1: DIP switch selection
If you press the FEED switch when the message shown at the following is
printed, you can perform operation (2).
If you press the POWER switch instead of the FEED switch, the details of the
printed DIP switch (DIP switch 1) are not changed, and the next DIP switch is
selected (operation 1).
DIP Switch setting mode.
DIP SW-1=******** Change Setting? Yes: Feed SW / No: Power SW
HINT
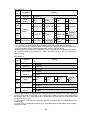
• "********" in the message indicates the setting of the DIP switch. The
leftmost bit is the most significant bit (bit 8) and the rightmost bit is the
least significant bit (bit 1).
• If DIP switches 1 to 4 are skipped, the function setting mode can be
terminated (operation 3).
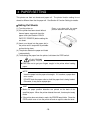
Operation 2: DIP switch setting
(1) When the message shown at the following is printed, set the bits from the most
significant bit (bit 8) to the least significant bit (bit 1).
Input 8 bits. 1: Feed SW / 0: Power SW
To set 1: Press the FEED switch.
To set 0: Press the POWER switch.
For example, to set 10101110, press the switches in the following sequence: