Operation
Useful Functions
30
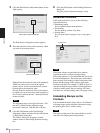
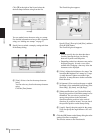
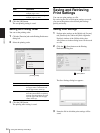
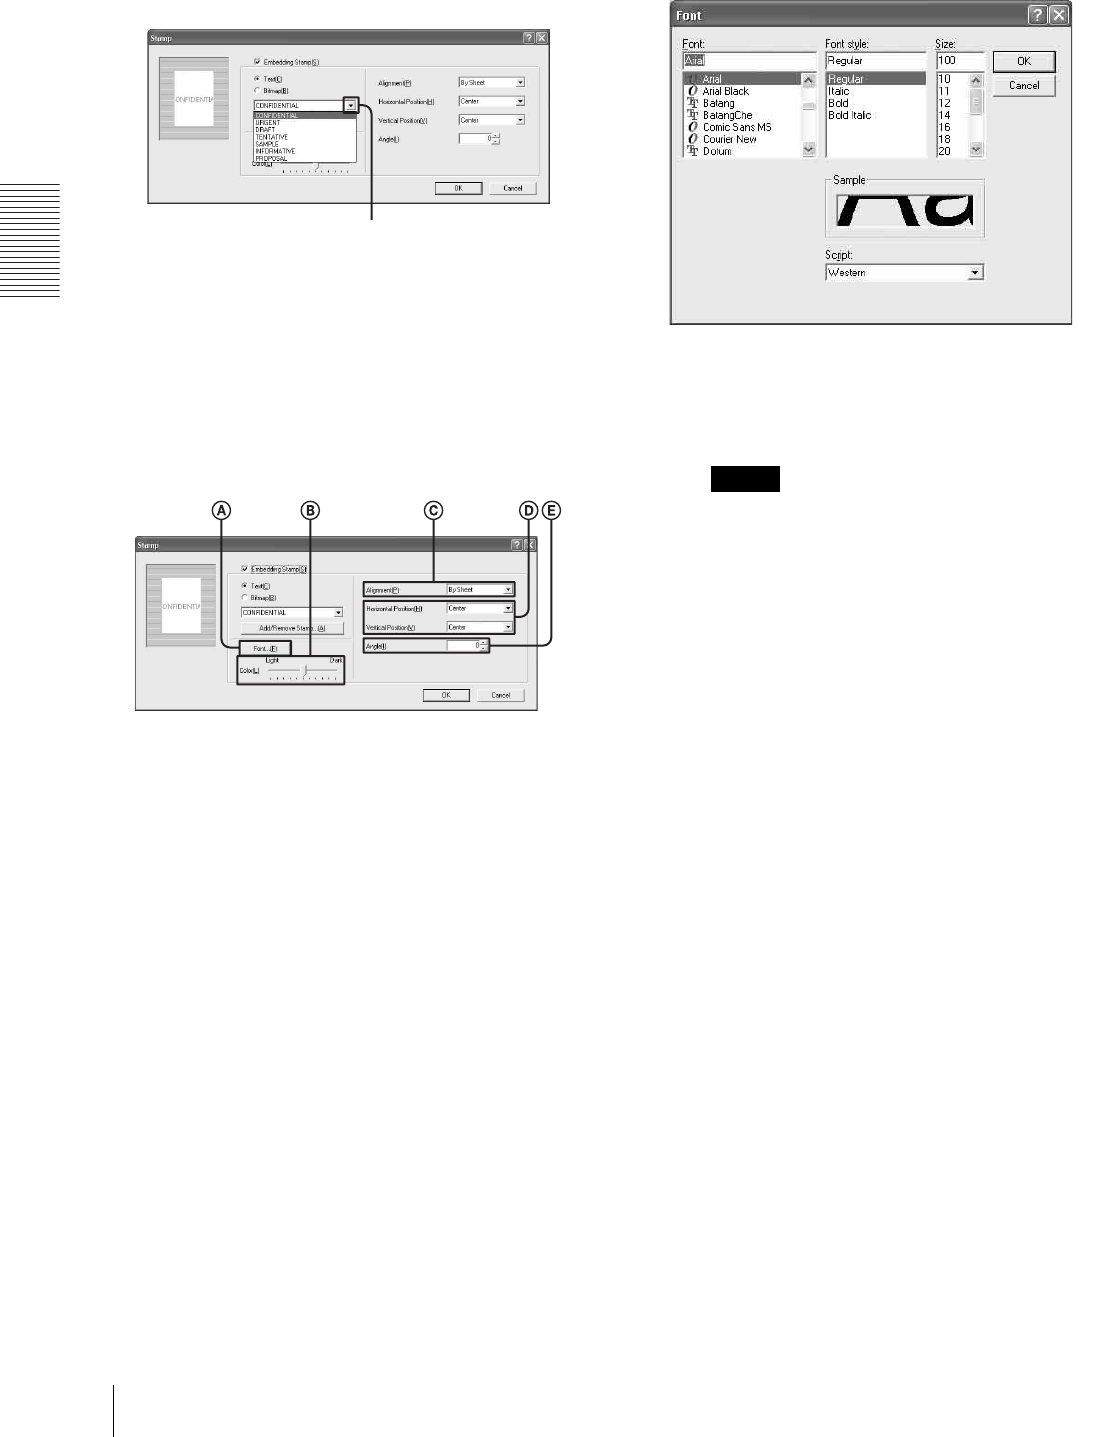
Click [V] at the right of the list and select the
desired stamp character string from the list.
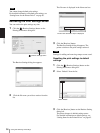
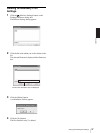
You can embed a new character string as a stamp.
For detailed information on how to add a character
string, see “Adding new stamps” on page 27.
5
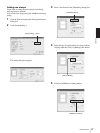
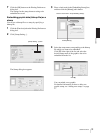
Specify how to embed a stamp by setting each item
in the Stamp dialog.
A [Font]: Select a font for the stamp character
string.
You can select any font for the stamp character
string.
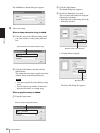
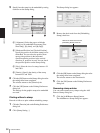
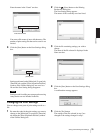
Click the [Font] button.
The Font dialog box appears.
Specify [Font], [Font style] and [Size], and then
click the [OK] button.
The Font dialog box disappears.
Notes
• You can specify the size other than those
listed by entering the font size directly
between 10 points and 500 points.
• Depending on the font, characters may not be
displayed properly. In such a case, select
another font. Changing a font may allow the
characters to be displayed.
B [Color]: Adjusts the brightness of a stamp. You
can adjust the brightness of a stamp in 11 steps.
A stamp becomes lighter toward the Light
direction. A stamp becomes darker toward the
Dark direction.
C [Alignment]: You can select the page on which
the stamp is to be embedded from among [First
Sheet Only], [By sheet], and [By Page].
D [Horizontal Position] and [Vertical Position]:
Specify the position of which the stamp is to be
embedded. You can select a position from
among nine positions in the horizontal
direction and nine positions in the vertical
direction, 81 positions in total. You can check
the specified position on the Stamp dialog.
E [Angle]: Specify the print angle for the stamp.
(You can specify the angle between –90° and
+90°).
6
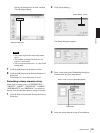
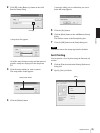
Click the [OK] button on the Stamp dialog box after
settings have been completed.
The window returns to the Function tab.
Click [V].


