Using Your Notebook Computer
Using Memory Stick™
Sony Notebook Computer User Guide
37
nN
Using Memory Stick™
This new compact, portable, and versatile IC recording medium has a data capacity
exceeding that of a floppy disk. The Memory Stick™ is specially designed for
exchanging and sharing digital data with compatible products. Because it is
removable, it can be used for external data storage.
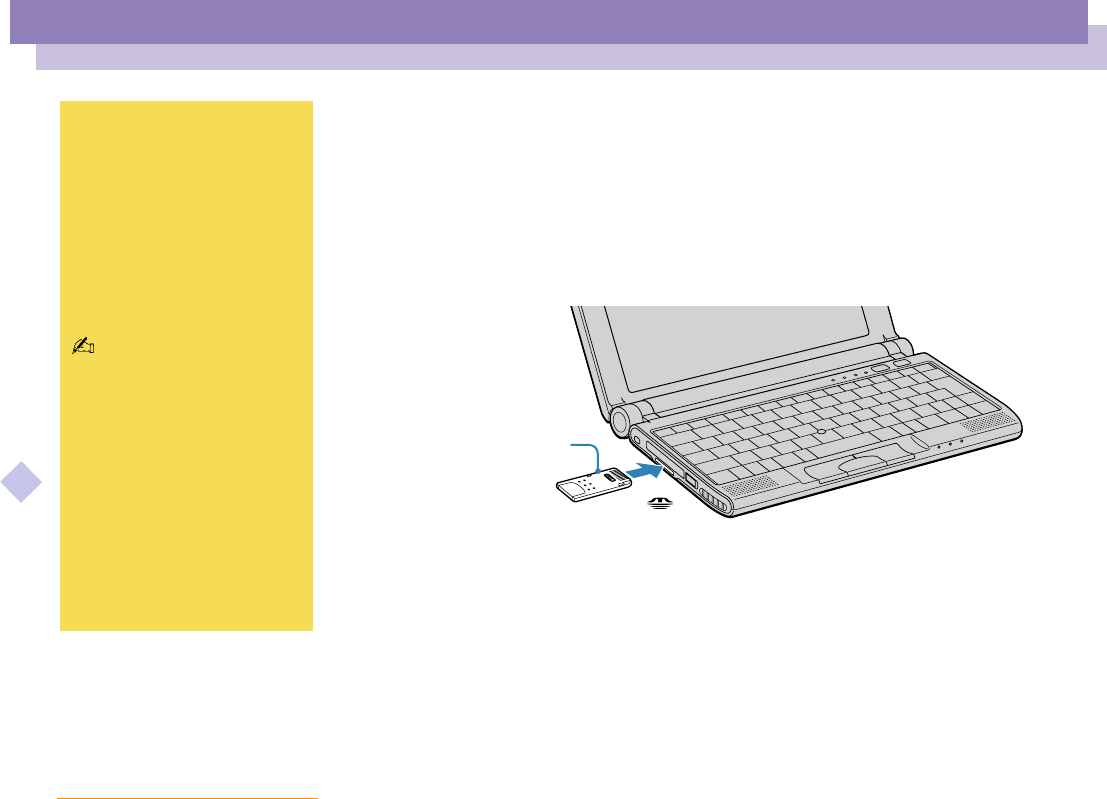
To insert a Memory Stick™
Gently insert your Memory Stick, front label facing down, until it clicks into place.
When the Memory Stick™ is connected properly, you can see the contents of the card
by clicking the Removable Disk (S:) icon.
If you cannot find the Removable Disk (S:) icon in My Computer on the desktop,
proceed as follows:
1 Go to Control Panel,clickView all Control Panel options if all options are not
displayed.
2 Double-click on the System icon,thenclickontheDevice Manager tab.
3 Click Refresh.
p
! Hold the Memory Stick media
with the arrow pointing in the
correct direction and turn the
label side down when you
insert it into the slot. To avoid
damaging the computer or the
Memory Stick media, do not
force the Memory Stick media
into the slot if it does not insert
smoothly.
You can enjoy still pictures and
short movies in mpg format
that you have recorded with
your Digital still camera.For
details, see your Software
Guide.
! If your computer is in Ultimate
Battery Life mode, Memory
Stick cannot be used. Select
another mode. For details, see
PowerPanel in your Software
Guide.
Memory Stick
Insert with label facing down


