16
Operation
3 Press the CAPTURE button at the
instant when the image you want to
print appears on the screen.
The image is captured into memory.
The memory image is displayed on the
screen. Which image appears after this,
the source image or memory image,
depends on the setting made with
AUTO LIVE on the FUNCTION
SETUP menu (page 34).
If the stored image is blurred
A quickly moving image may be blurred when printed. Should this occur,
change the MEMORY setting to FIELD on the LAYOUT SETUP menu.
Although the blur should be eliminated, the ultimate print quality will be
slightly degraded.
To change the image in memory
1 To display the source image when the memory image is displayed on the
screen, press the SOURCE/MEMORY button .
2 Press the CAPTURE button at the instant the image you want to print
appears. The previous image is replaced with the new one.
4 Press the PRINT button.
It takes about 60 seconds to make a
printout.
The printout pops out from the paper
tray.
Making Full-Size Printouts (continued)
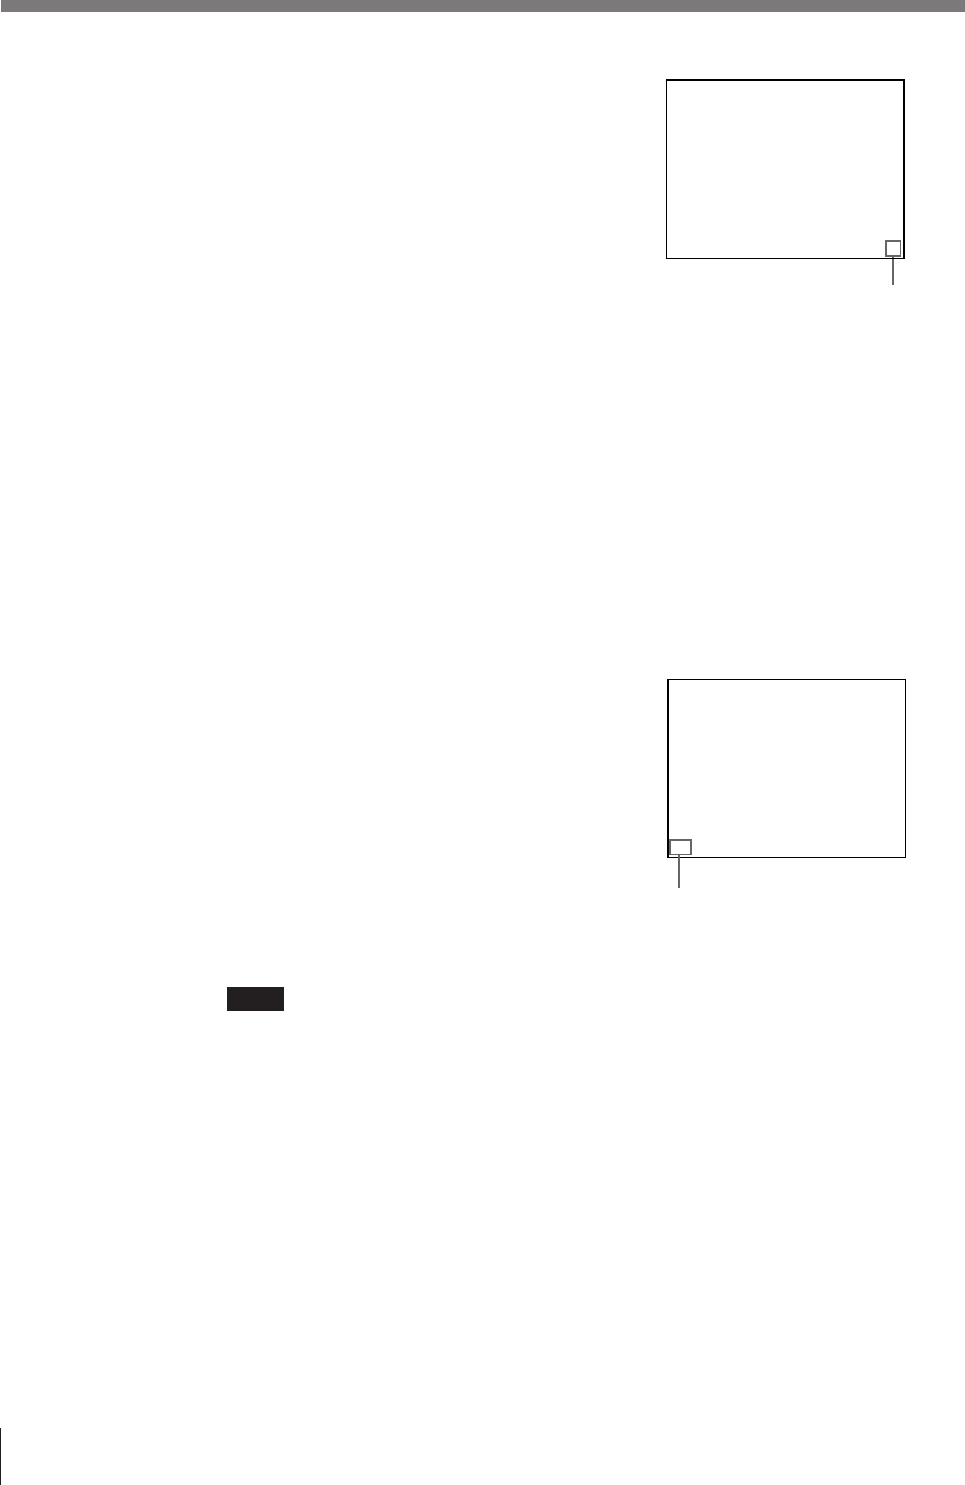
Blinks while printing
During color printing: Printing
start - yellow - magenta -
cyan - printing end
Q 1 A 1 M
Q 1 A 1 M
Shows that the image captured in
memory is displayed on the video
monitor screen.
Note
• Do not turn off the power during printing.
If you do so, paper may not be ejected and may jam in the printer.
• Do not pull the paper from the paper cover until printing has been completed.
• You can not change the printer application mode or settings on the WINDOW
SETUP menu during printing.
