


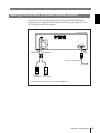
63
Installation and Adjustment
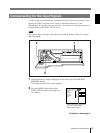
When selecting
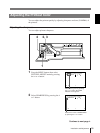
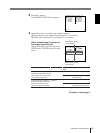
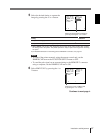
To change the size, adjust the
position of the right edge. The left
edge remains fixed. (The screen
size changes horizontally.)
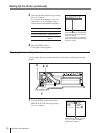
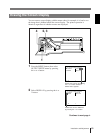
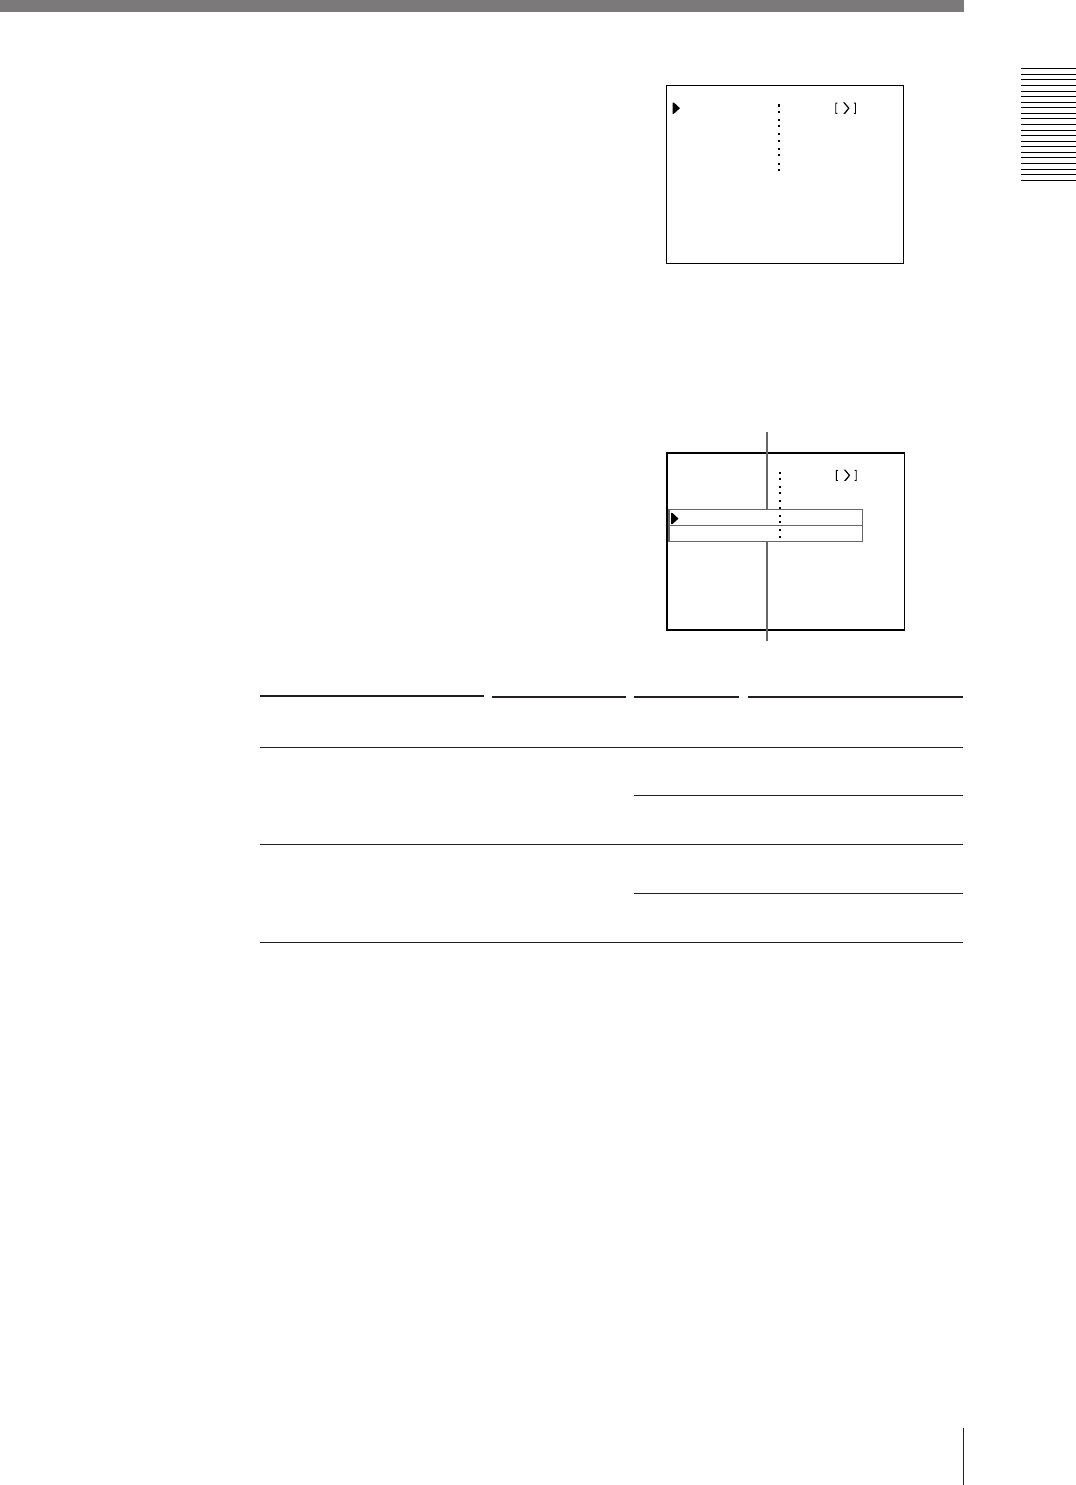
To change the size, adjust the
position of the bottom edge. The
top edge remains fixed. (The
screen size changes vertically.)
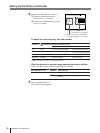
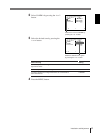
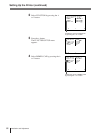
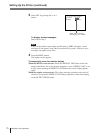
3 Press the ∫ button.
The WINDOW SETUP menu appears.
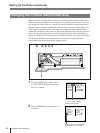
4 Adjust the printer according to the obtained printout.
1 Select the item to be adjusted by pressing the ◊ or √ button.
2 Perform the adjustment by pressing the ı or ∫ button.
When a black frame is printed or
the image is partially cut
Adjust the printout size by using the H
WIDTH and V WIDTH items from the
menu.
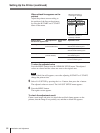
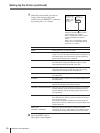
Adjustment item
H-WIDTH
V-WIDTH
Button to be
used
∫ button
ı button
∫ button
ı button
Adjustment result
Widened at the right edge.
Narrowed with the left edge
remaining fixed.
Enlarged downwards.
Vertical sized reduced with
the top edge remaining fixed.
Adjusting the printout
size horizontally.
Adjusting the printout
size vertically.
Continue to next page m
WI NDOW SET UP COLOR n n n
PRESS
L AY SETUP
H START
00
DOT
(
S
)
Q 1 A
1
S
V START
H WI DTH
V WIDTH
00
DOT
(
S
)
720
DOTS
468
DOTS
WI NDOW SE TUP COLOR n n n
PRESS
L AY SETUP
H START
00
DOT
(
S
)
Q 1 A
1
S
V START
H WI DTH
V WIDTH
00
DOT
(
S
)
720
DOTS
468
DOTS