20
GB
• Do not remove the USB cable from or connect
it to the printer during data communication
or printing. The printer may not work
properly.
• Do not allow the PC connected to the printer
to switch to standby mode or hibernation
mode during printing. If you do so, the
printer may not print properly.
• We cannot guarantee operations with all
personal computers, even though they may
meet or exceed the system requirements.
• Picture Motion Browser supports the DirectX
technology and the DirectX installation may
be required.
Installing the printer driver
1 Make sure that the printer is
disconnected from the
computer.
Note
If you connect the printer to your PC in this
stage, either of the following dialog boxes
are displayed:
• When using Windows Me: Add New
Hardware Wizard
• When using Windows 2000/XP:
Found New Hardware Wizard
If this occurs, disconnect the printer from
the PC and then click “Cancel” in the
dialog box.
2 Turn on your computer and start
Windows.
• When installing or uninstalling the
software in Windows
®
2000
Professional, log on to Windows as
“Administrator” or “Power user”.
• When installing or uninstalling the
software with Windows
®
XP
Professional/Windows
®
XP Home
Edition, log on using a “Computer
administrator” user account.
Notes
• Be sure to close all running programs
before installing the software.
• The dialog boxes in this section are
those in Windows XP Professional,
unless otherwise specified. The
installation procedures and the dialog
boxes shown differ depending on the
operating system.
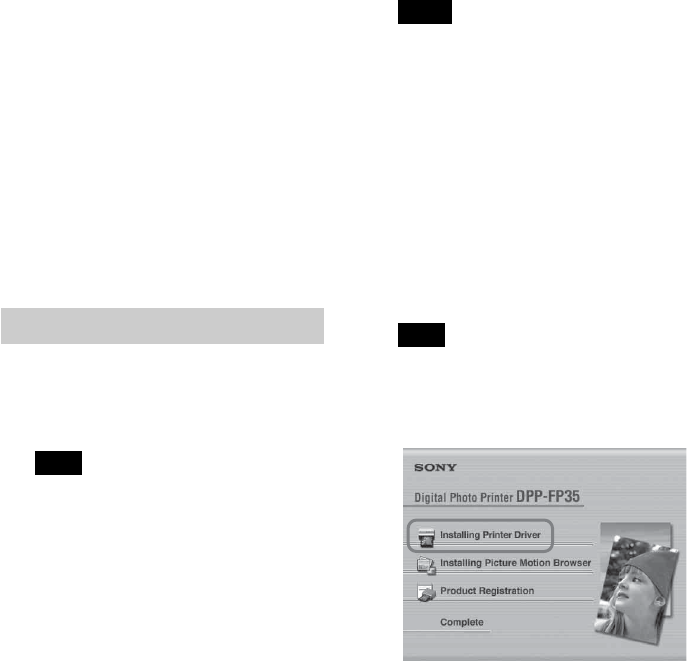
3 Insert the supplied CD-ROM into
the CD-ROM drive of your
computer.
The setup starts automatically and the
installation window is displayed.
Note
In case the installation window is not
automatically displayed, double-click the
“Setup.exe” of the CD-ROM.
4 Click “Installing Printer Driver”.
The “Sony DPP-FP35 - InstallShield
Wizard” dialog box appears.
5 Click “Next”.
The license agreement dialog box is
displayed.
