30
GB
7 Click “OK.”
The print dialog box is displayed.
Tip
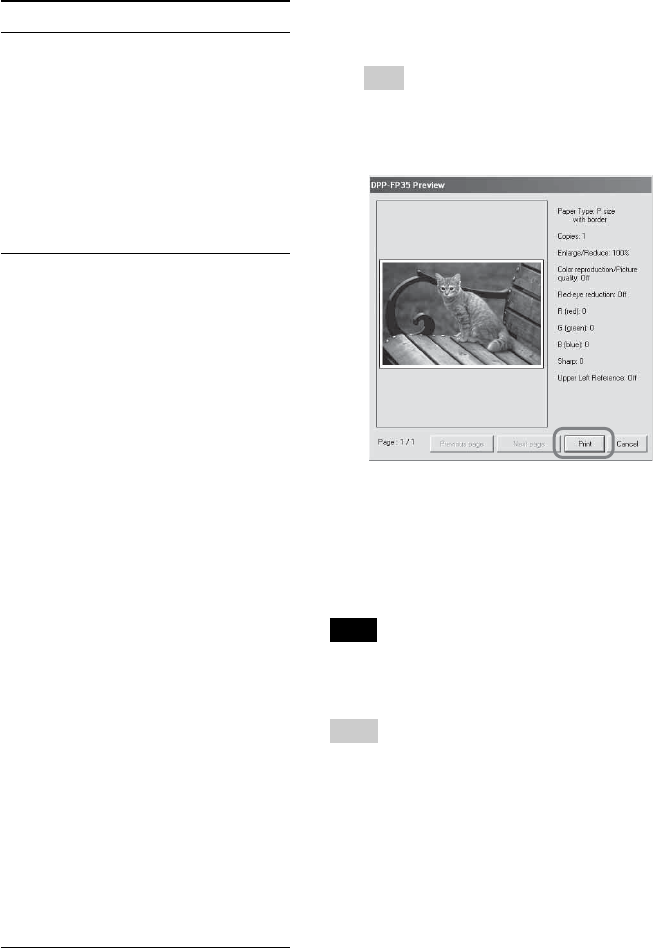
When “Print preview” is checked
in step 5, the preview window is displayed.
Check the results of any adjustments and
then click “Print.”
Printing resumes. Make sure to read
“Notes on printing” on page 18, as
well.
For the details of the properties of the
Picture Motion Browser, see the
Picture Motion Browser online Help.
Note
You cannot print a motion-picture file or RAW
data files.
Tips
• To select serial still images in the image area
of the main window, click the first image in
the series and then click the last image while
pressing the Shift key.
• To select multiple still images not in a
sequence, click the images individually while
pressing the Ctrl key.
• You can print from an image preview.
• The Picture Motion Browser is compatible
with the ICM.
Items Functions
•Red-eye phenomenon will be
detected automatically, and it
may not be corrected.
If red-eye phenomenon is not
corrected, use the Picture Motion
Browser correction function.
•Red-eye reduction is enabled only
when you have installed the
printer driver from “Setup.exe” in
the supplied CD-ROM. For the
details see the Readme.txt.
Print settings
Adjusts the color elements and
sharpness.
R (red):Adjusts the red and
blue elements. The higher
you set the level, the more
reddish the picture becomes
as if it receives red light. The
lower you set the level, the
darker the picture becomes
as if light blue is added.
G (green):Adjusts the green
and purple elements. The
higher you set the level, the
more greenish the picture
becomes as if it receives
green light. The lower you
set the level, the darker the
picture becomes as if red
purple is added.
B (blue):Adjusts the blue and
yellow elements. The higher
you set the level, the more
bluish the picture becomes as
if it receives blue light. The
lower you set the level, the
darker the picture becomes
as if yellow is added.
Sharp (sharpness): The higher
you set the sharpness level,
the more distinct the outlines
become.


