43
GB
Troubleshooting
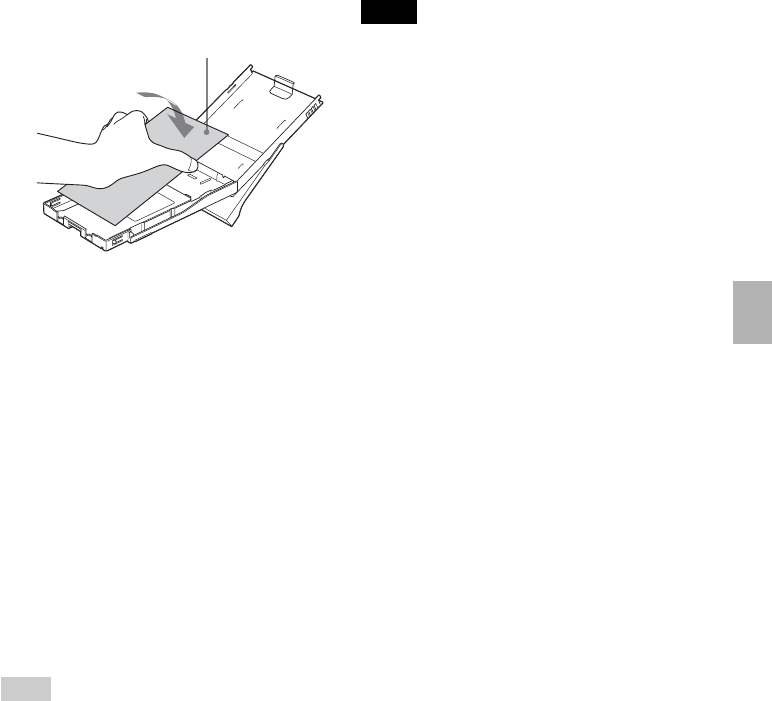
4 Place the protective sheet into
the paper tray.
Insert the protective sheet with the
no-imprint side facing up.
surface without imprints
5 Set the paper tray into the
printer and press the 1 (on/
standby) switch.
The cleaning cartridge and
protective sheet will clean inside the
printer. The 1 (on/standby)
indicator flashes slowly in green.
After the cleaning is finished, the
protective sheet is automatically
ejected.
6 Remove the cleaning cartridge
and protective sheet from the
printer.
Tips
• Keep the cleaning cartridge and protective
sheet together for future cleaning.
• With a protective sheet, you can carry out
cleaning for the maximum of about 20
times.
When cleaning ends
Set the print cartridge and print paper
into the printer.
Notes
• Carry out cleaning only when there are
white lines or dots on the print.
• When you can obtain proper printing
performances, cleaning will not improve
the printed picture quality.
• The maximum cleaning times that you can
carry out is approximately 20. As the
number of cleaning times increases, the
cleaning loses its effect.
• Do not place the protective sheet on the
print paper and carry out cleaning, which
may cause paper jam or other troubles.
• If a cleaning does not improve printed
picture quality, please carry out cleaning a
couple of times.


