4 Connections
The items a b c etc. mentioned below refer to the illustration
on page 10.
4.1 Mains power connection
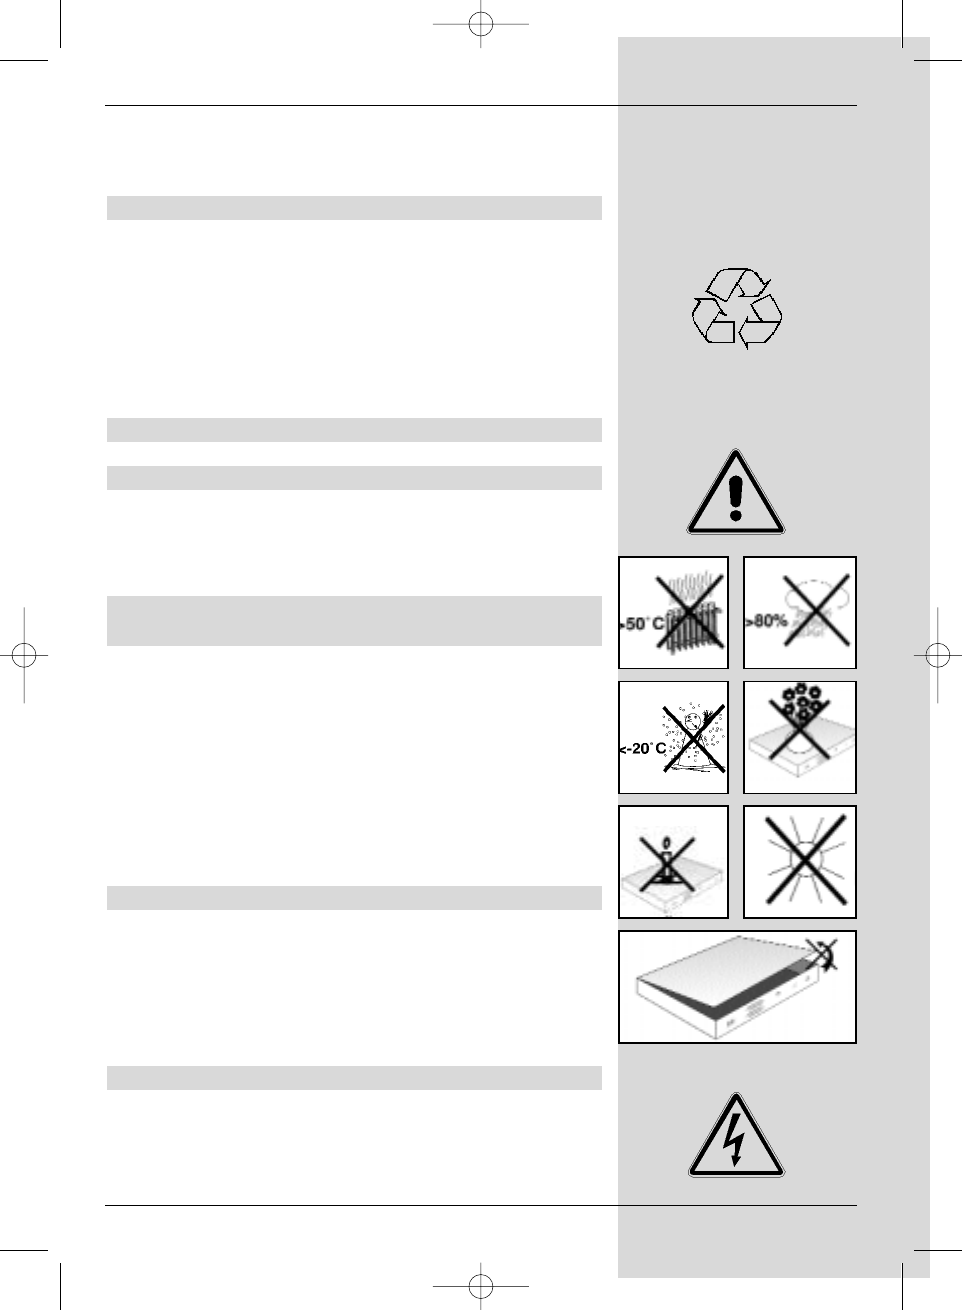
The digital receiver should be connected to the mains power
supply only once all the other connections with other items of
equipment have been made. This will prevent damage to the
digital receiver or to other components.
a When you have made all the other connections. use
the mains power cable supplied to connect the recei-
ver to a mains power supply providing 230 V/50-60
Hz.
4.2 External unit
4.2.1 Single unit operation
b Using a suitable co-axial cable, connect the LNC
input of the digital receiver with the LNC of your
external unit. Please also note Point 6 under
“Settings”.
4.2.2 Operating an additional receiver in a single-
receiver installation
c If you wish to operate an additional unit in a single-
receiver installation (e.g. an analogue receiver or an
ADR receiver), you can connect the LNC input of the
additional receiver with the LNC output of the DVB
receiver by means of a suitable co-axial cable. In
order for the satellite signal to be provided to the
additional receiver, your DVB receiver must be
operated in Standby mode. If your DVB receiver is
switched on, it will take over priority in controlling the
LNC.
4.3 Connection to a television set
When you have connected your digital receiver with
the television set as described in this chapter, it may be
necessary to adjust the digital receiver to the television stan-
dard of your television set.
To do this, please note Point 6.3.5 (Video system).
4.3.1 Via SCART cable
To ensure the best possible picture quality, use a SCART
cable to connect the digital receiver with the television set.
Proceed as follows:
d Connect the receiver (SCART socket TV) and the
9
Bed_anl_.qxd 20.02.04 16:28 Seite 9


