


22
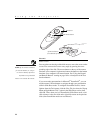
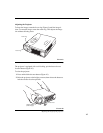
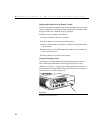
Using the Projector
1
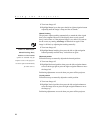
Turn Auto Image off.
2
Highlight Manual sync, then press the left or right navigation button
repeatedly until the image is sharp and free of streaks.
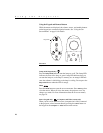
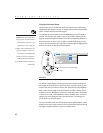
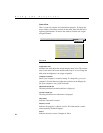
Manual Tracking
The projector adjusts tracking automatically to match the video signal
from your computer. However, if the display shows evenly spaced,
fuzzy, vertical lines or if the projected image is too wide or too narrow
for the screen, try turning
Auto Image
off then back on again. If the
image is still bad, try adjusting the tracking manually:
NOTE:
The
Manual Sync
,
Manual Tracking
,
Horiz.
Position
and
Vert. Position
options are available only for
computer sources. The projector
sets these options automatically
for video sources.
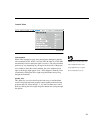
1
Turn Auto Image off.
2
Highlight Manual tracking, then press the left or right navigation
button repeatedly until the fuzzy vertical bars are gone.
Horizontal position
Follow these steps to manually adjust the horizontal position:
1
Turn Auto Image off.
2
Highlight Horizontal position, then press the left navigation button
to move the image right or press the right navigation button to move
the image left.
Positioning adjustments are saved when you power off the projector.
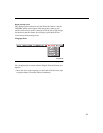
Vertical position
Follow these steps to manually adjust the vertical position.
1
Turn Auto Image off.
2
Highlight Vertical position, then press the left navigation button to
move the image down or press the right navigation button to move
the image up.
Positioning adjustments are saved when you power off the projector.