TD-W8968 300Mbps Wireless N USB ADSL2+ Modem Router User Guide
52
II. Enter the client device’s PIN on the modem router
Use this method if your client device has a Wi-Fi Protected Setup PIN number.
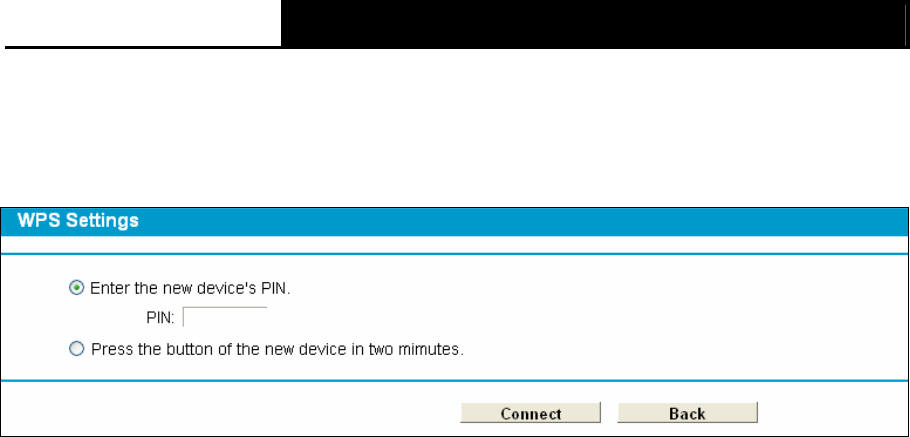
Step 1: Keep the default WPS Status as Enabled and click the Add device button in Figure
4-36, then the following screen will appear.
Figure 4-38
Step 2: Enter the PIN number from the client device in the field on the above WPS screen. Then
click Connect button.
Step 3: “Connect successfully” will appear on the screen of Figure 4-38, which means the
client device has successfully connected to the modem router.
III. Enter the modem router’s PIN on your client device
Use this method if your client device asks for the modem router’s PIN number.
Step 1: On the client device, enter the PIN number listed on the modem router’s Wi-Fi Protected
Setup screen. (It is also labeled on the bottom of the modem router.)
Step 2: The Wi-Fi Protected Setup LED flashes for two minutes during the Wi-Fi Protected
Setup process.
Step 3: When the WPS LED is on, the client device has successfully connected to the modem
router.
Step 4: Refer back to your client device or its documentation for further instructions.
)
Note:
1) The WPS LED on the modem router will light green for five minutes if the device has been
successfully added to the network.
2) The WPS function cannot be configured if the Wireless Function of the modem router is
disabled. Please make sure the Wireless Function is enabled before configuring the WPS.
4.8.3 Wireless Security
Choose menu “Wireless”Æ” Wireless Security”, you can configure the security settings of your
wireless network.
There are three wireless security modes supported by the modem router: WPA/WPA2 – Personal,
WPA/WPA2 – Enterprise, WEP (Wired Equivalent Privacy).


