42
Gigabit Uplink Web Smart Switch
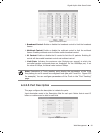
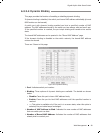
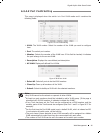
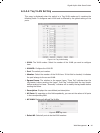
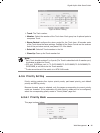
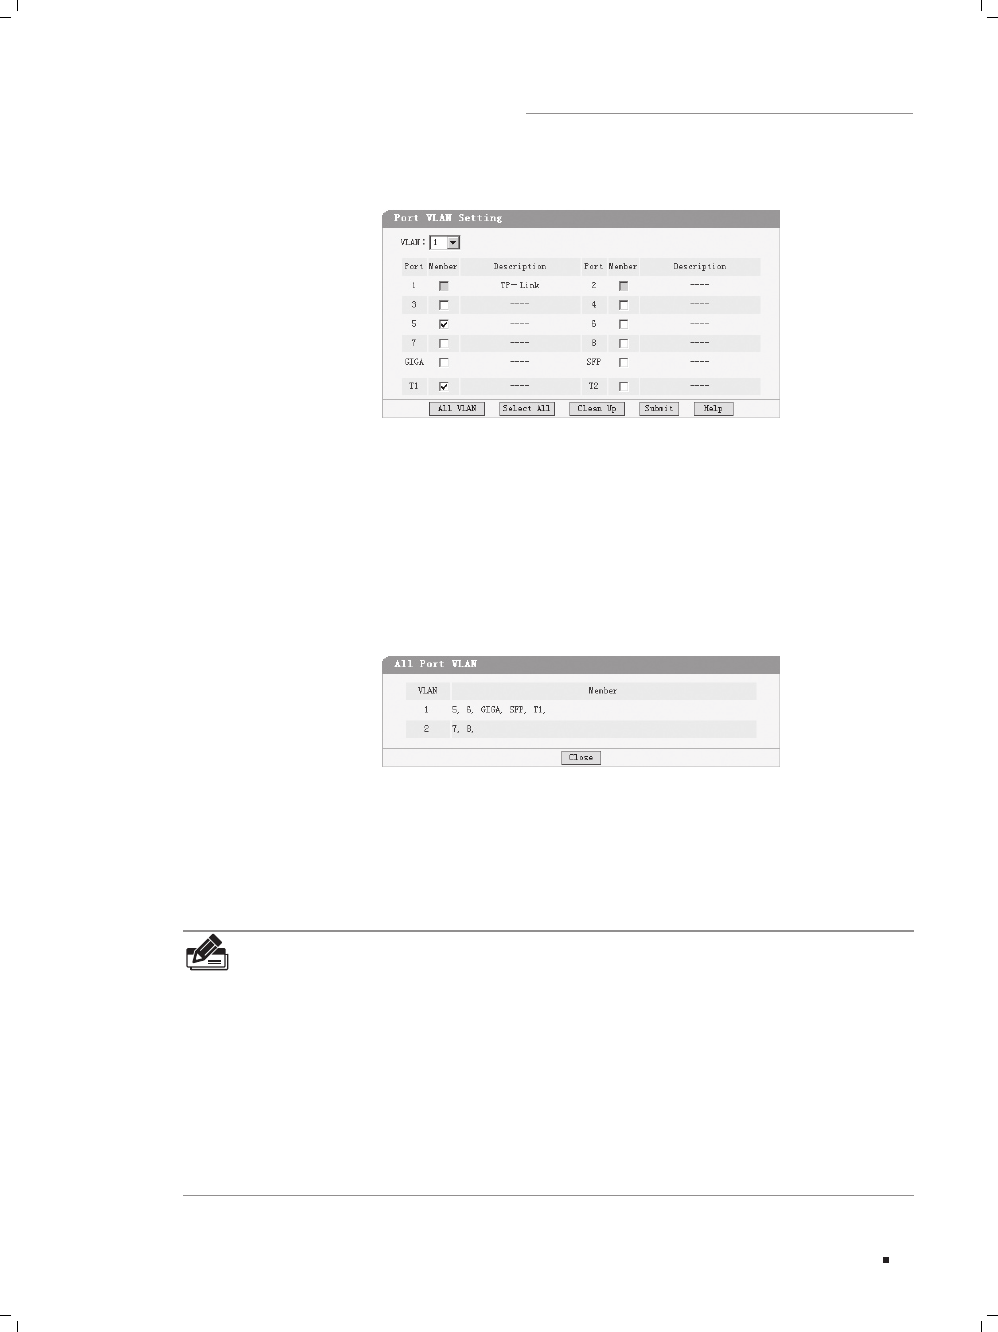
This page is displayed when the switch is in Port VLAN mode and it contains the
following fields:
Port VLAN SettingFigure 6-37
VLAN
¾
: The VLAN number. Select the number of the VLAN you want to configure
here.
Port
¾
: The switch port number.
Member
¾
: Selects the member of the VLAN here. If this field is checked, it indicates
the port belongs to the current VLAN.
Description
¾
: Displays the user-defined port description.
All VLAN
¾
: Displays all defined Port VLANs.
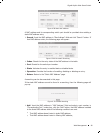
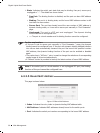
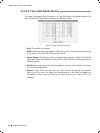
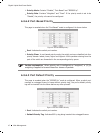
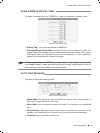
All Port VLANFigure 6-38
Select All
¾
: Select all ports to be the VLAN member.
Clean Up
¾
: Clean up all members of the VLAN.
Submit
¾
: Submit to buildup a VLAN with the selected members.
Note:
Any VLAN cannot be the subset or superset of other VLANs.
At least two port members should be included to add a VLAN group. (If the page is
submitted with 0 VLAN member, it indicates to delete the VLAN.)
If any Trunk has been set, the Trunk can be configured as a VLAN member, and the
member ports of the Trunk cannot be configured (see Port 1 and 2 in Figure 6-37 for
example).
For the first time the Port VLAN mode is set, a default VLAN, which is indexed as NO.
1 and contains all switch ports, will be built up.
The ports haven’t been assigned to any VLAN manually will be assigned to a hidden
VLAN automatically to make sure they can communicate with each other.
The number of Port VLAN can be set is the same as the switch port number.
Web Management


