24 Port Stackable Managed Switch – User Guide Page 18
IP Configuration
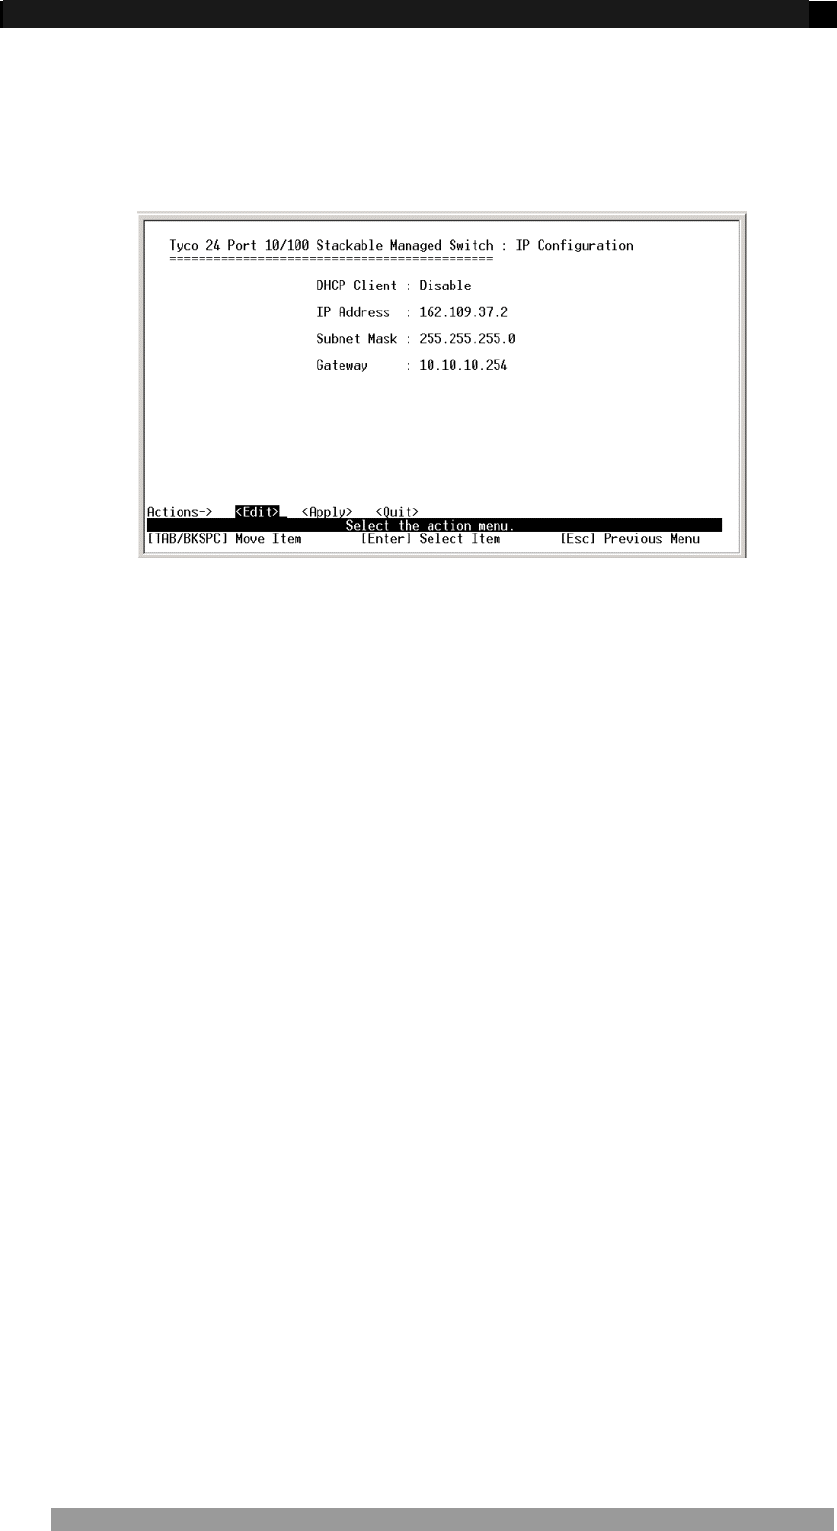
This screen is used to set the IP address, Sub-Net Mask and Default Gateway, DHCP client
functionality for the Switch. These settings are only required if the Switch is to be managed
over the network using Telnet, a web browser or SNMP.
Figure 19. IP Configuration Screen
This menu enables the IP address of the Switch to be configured. To change the IP Switch
setting:
1. Use the <tab> to highlight the <edit> field in the action line and press <enter>
2. The cursor will highlight the DHCP client field.
3. Use <tab> key to highlight the IP address field.
4. Enter the new IP Address as required.
5. Use <tab> key to highlight the Subnet Mask field.
6. Enter the Subnet mask address as required.
7. Use <tab> keys to highlight the default gateway field.
8. Enter the IP address of the default gateway as required.
9. Use the <esc> key return to the action line and then tab to the <apply> field and then
select the <apply> using the <enter> key to save the IP address changes.
10. Navigate up to the Main Menu using the <esc> key and then select the Save
Configuration. This will save the IP address configuration to Flash Rom.
11. After saving the configuration reboot the Switch for IP address configuration to take
affect.
12. After rebooting the Switch it is advisable to check that IP changes have been made
current by checking the Administration Configuration>IP Configuration menu
again.
NOTE: The Switch can also acquire its IP configuration automatically via DHCP by enabling
DHCP client from the IP configuration screen.
Product Number 0-1591099-x © Tyco Electronics 2005 Issue 1
