3
Preparing the Scanner
Prepare your scanner for installation through the following simple steps:
!
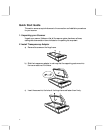
Unlock the optical assembly
!
Check and reset (if necessary) the scanner’s SCSI address
!
Run the automatic scanner self-test
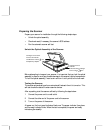
Unlock the Optical Assembly of the Scanner
Before attempting to transport your scanner, it is important that you lock the optical
assembly in place to avoid any possible damage to the scanner's optical components.
To lock the optical assembly, insert a coin and turn it until points to the lock mark.
Testing the Scanner
The scanner automatically performs a simple self-test each time it is turned on. This
self-test checks the status of certain scanner devices.
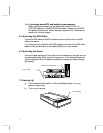
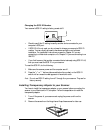
After unpacking, start the scanner self-test by following the steps below:
1.
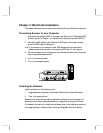
Connect the power cord to a wall outlet.
2.
Connect the other end of the power cord to the scanner.
3.
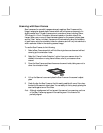
Turn on the power of the scanner.
At power-on, the front panel indicators flash once. The power indicator then glows
and the ready indicator blinks. When the test is completed, the power and ready
indicators glow steadily.
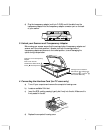
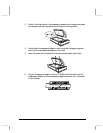
Carriage Lock for UTA:
Insert a coin into the
screwhead to unlock,
,
the
transparency adapter.
Carriage Lock for
Scanner:
Pull and turn this carriage
lock to unlock,
,
the
ibd


