72
DSL Modem User Manual
73
Appendix B Switching to Static IP on the Computer
9. Enter the following numbers in the “Subnet mask” text box:
255.255.255.0
Do not include the periods; they are automatically entered.
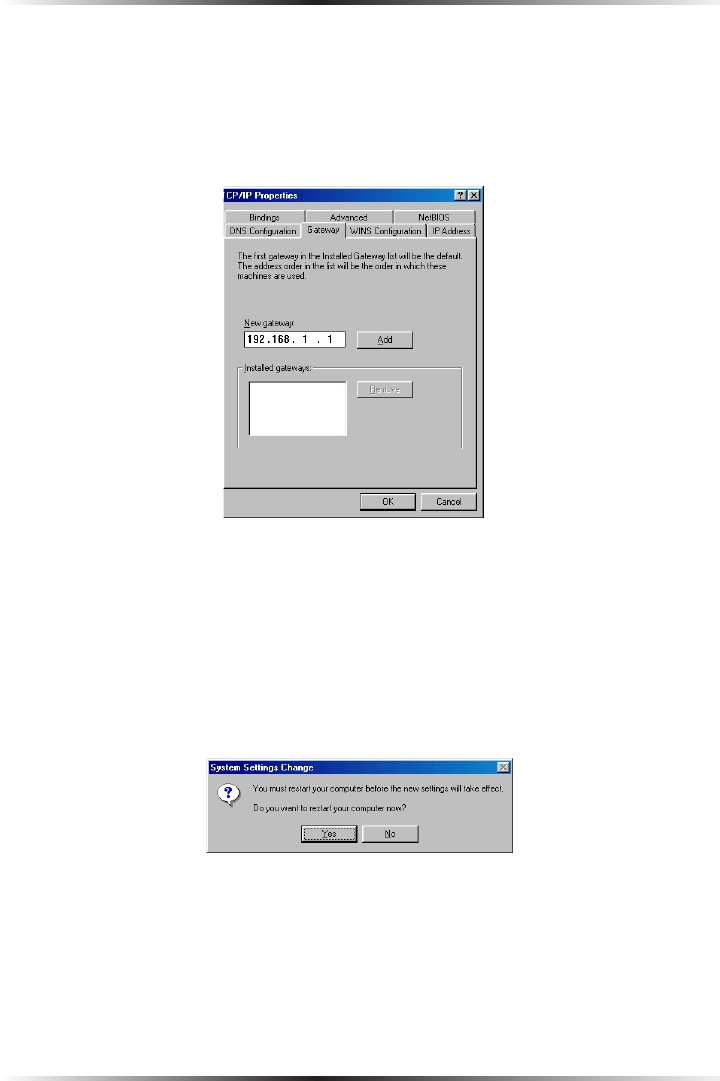
10. Select Gateway, and, in the “New gateway” text box, enter
192.168.1.1
11. If applicable, select “DNS Configuration.” Click “Enable DNS” and enter the
DNS servers needed.
12. Click OK. The TCP/IP Properties window disappears.
13. In the Network window, click OK. The Network window disappears.
14. The “System Settings Change” window appears, asking whether the computer
should be restarted. Click Yes.
The computer restarts. It is now set up with a static IP address, allowing the user
to access the Modem’s Web Configuration Utilities (Advanced Setup, Utilities, etc.).


