STEP 3: PRINT GUIDES AND INSTALL OTHER SOFTWARE 13
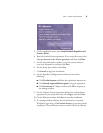
To set scanner settings:
1. Open the Strobe XP 200 Properties window as follow:
For Windows 98, 2000, or Me:
■ On the Windows taskbar, click Start, point to Settings, and then
click Control Panel.
■ Double-click Scanners and Cameras.
■ On the Scanners and Cameras Properties window, make sure the
Strobe XP 200 scanner is selected, and then click Properties.
For Windows XP:
■ On the Windows taskbar, click Start, point to Settings, and then
click Control Panel.
■ Click Printers and Other Hardware.
■ Click Scanners and Cameras.
■ On the Scanners and Cameras window, right-click the Strobe
XP 200 icon, and select Properties from the menu.
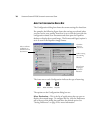
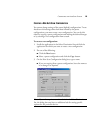
2. On the Strobe XP 200 Properties window, select the Advanced tab.
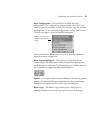
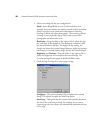
3. In the Settings section, set the scanner options as follows:
Paper insert delay—Set the delay time from insertion of a
document until the scanner starts to scan. The allowable values are
200 to 900 milliseconds. The default value is 500 milliseconds.
Maximum document length—Set the maximum length for
scanned documents. The allowable values are 4 to 14 inches. The
default value is 14 inches.
Page skew detection—When page skew detection is enabled,
sensors in the scanner detect when a document is not correctly
aligned and then eject the document.
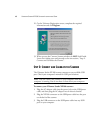
4. Click OK to save settings and close the Strobe XP 200 Properties
window.


