Xerox 4110/4590 Getting Started
2-9
2. Product Overview
4
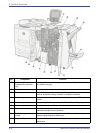
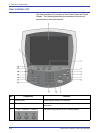
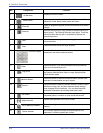
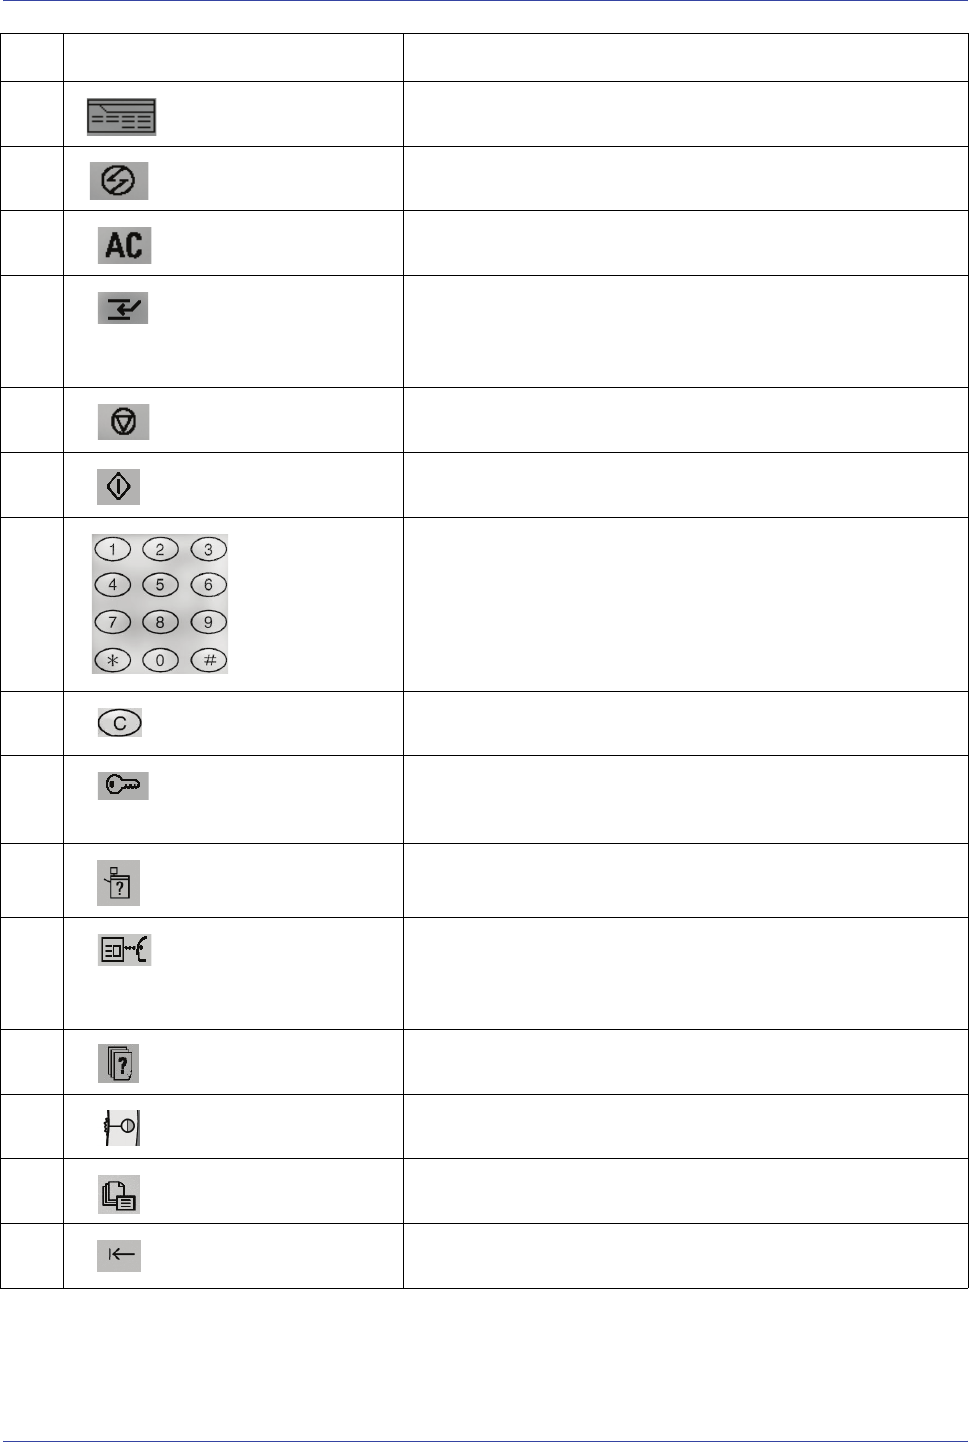
All Services
Displays the menu screen.
5
Power Saver
Lights when the machine is in the Power Saver mode. To
cancel the Power Saver mode, press this button.
6
Clear All
Clears all programming and returns the machine to its default
settings.
7
Interrupt
Interrupts the printing or copy process to allow another job a
higher priority. The Interrupt indicator lamp lights. Press the
Interrupt button after the job is completed to resume the
previous operation.
8
Stop
Press this button to stop the current copy job or
communications.
9
Start
Press this button to start the copy process.
10
Numeric keypad
Press these buttons to enter the number of copies,
passwords, and other numerical values.
11
Clear
Press this button if you have entered the wrong numerical
value or if instructed by the U I.
12
Log In/Out
This button is used by the System Administrator to log into
the System Administration mode or Login Setup/Auditron
Administration mode.
13
Machine Status
Press this button to check the machine status, meters, and
the state of consumables and print reports.
14
Review
Press this button to open the Review screen in order to check
the status of copy, fax, and scan features whose settings
have changed from the defaults. You can also check the
destination information for sending faxes and e-mail.
15
Job Status
Press this button to confirm or cancel currently running or
completed jobs or to confirm or print saved documents.
16
Brightness dial
Adjusts the brightness of the touch screen.
17
Job in Memory indicator
This indicator lights when data is stored in the machine's
memory.
18
Online indicator
This indicator lights when data is transmitting from this
machine or is receiving data from a client.
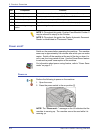
No. Component Function


