


E-10
This section describes the basic projecting operation after installa-
tion and connection have been completed.
Detailed settings must be made for installation, screen, input signal
and so on, by following the menu setting procedure described in
the section starting on page 15.
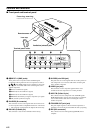
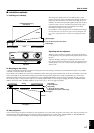
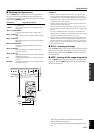
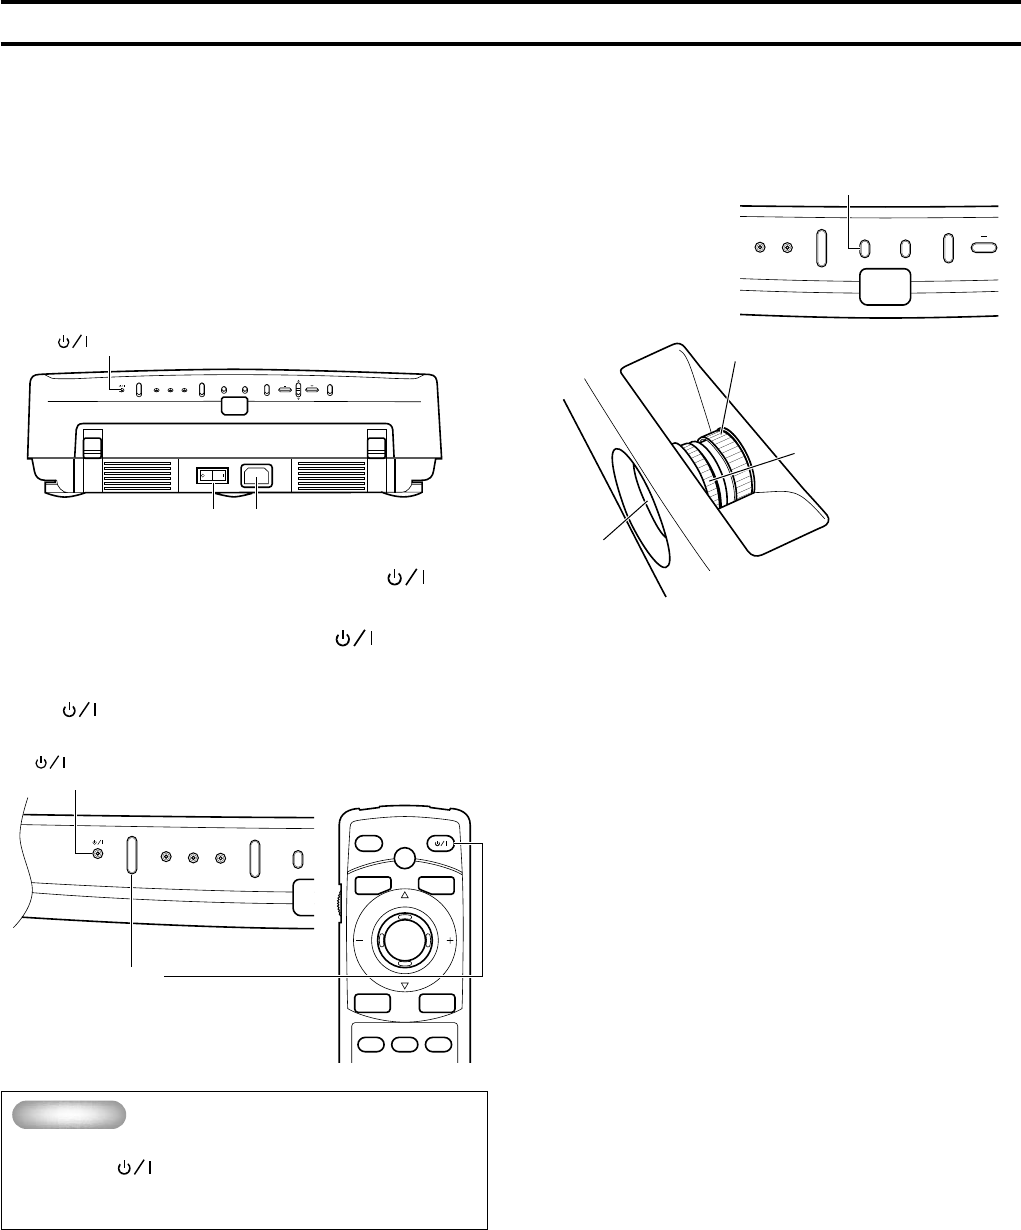
■ Turning on the power
Remove the lens cap before starting any operation of this unit.
1. Plug the supplied power cord into the AC inlet on the
rear of this unit. Then plug the cord into the wall
outlet.
2. Turn on the power switch of this unit. The
indicator lights up in red in a few seconds.
3. Press the STANDBY/ON button, the indicator
flashes in green and the lamp inside this unit lights
up.
The
indicator stops flashing and lights steadily after about
15 seconds and this unit is ready for projection.
Important
• Never turn off the power switch or unplug this unit
while the
indicator is lit or flashing in green.
This causes significant damage to the lamp and
may result in its shorter life or failure.
BASIC OPERATION
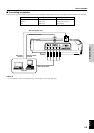
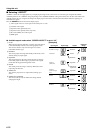
Using this unit
indicator
Power switch
SELECTESCAPE
INPUTSTANBY/ON
24P
MENUPATTERN
TEMP
/
FAN
LAMP
/
COVER
AC inlet
indicator
(Flashing in green → lights steadily in green)
STANDBY
/
ON
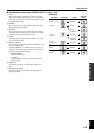
PATTERN
INPUT
LAMP
/
COVER
TEMP
/
FAN
24P
AUTO
ESCAPE
SELECT
ASPECT
RESET STILL HIDE
INPUT
MENU
PATT
PATTERN
STANDBY/ON
STANDBY/ON
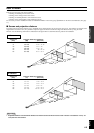
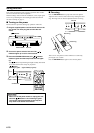
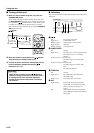
■ Focusing
Press the PATTERN button to project the stored test pattern.
Adjust the lens so that it comes into focus by rotating the focus
ring. The image size can be also adjusted with the zoom ring.
There are two test patterns. Choose whichever is desired by
pressing the + or – button.
Press the PATTERN button again to close the test pattern.
Zoom ring
Focus ring
PATTERN MENU
INPUT
R
TEMP
/
FAN
24P
ESCAPE
PATTERN
Lens