


E-11
English
BASIC OPERATION
Using this unit
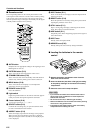
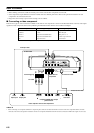
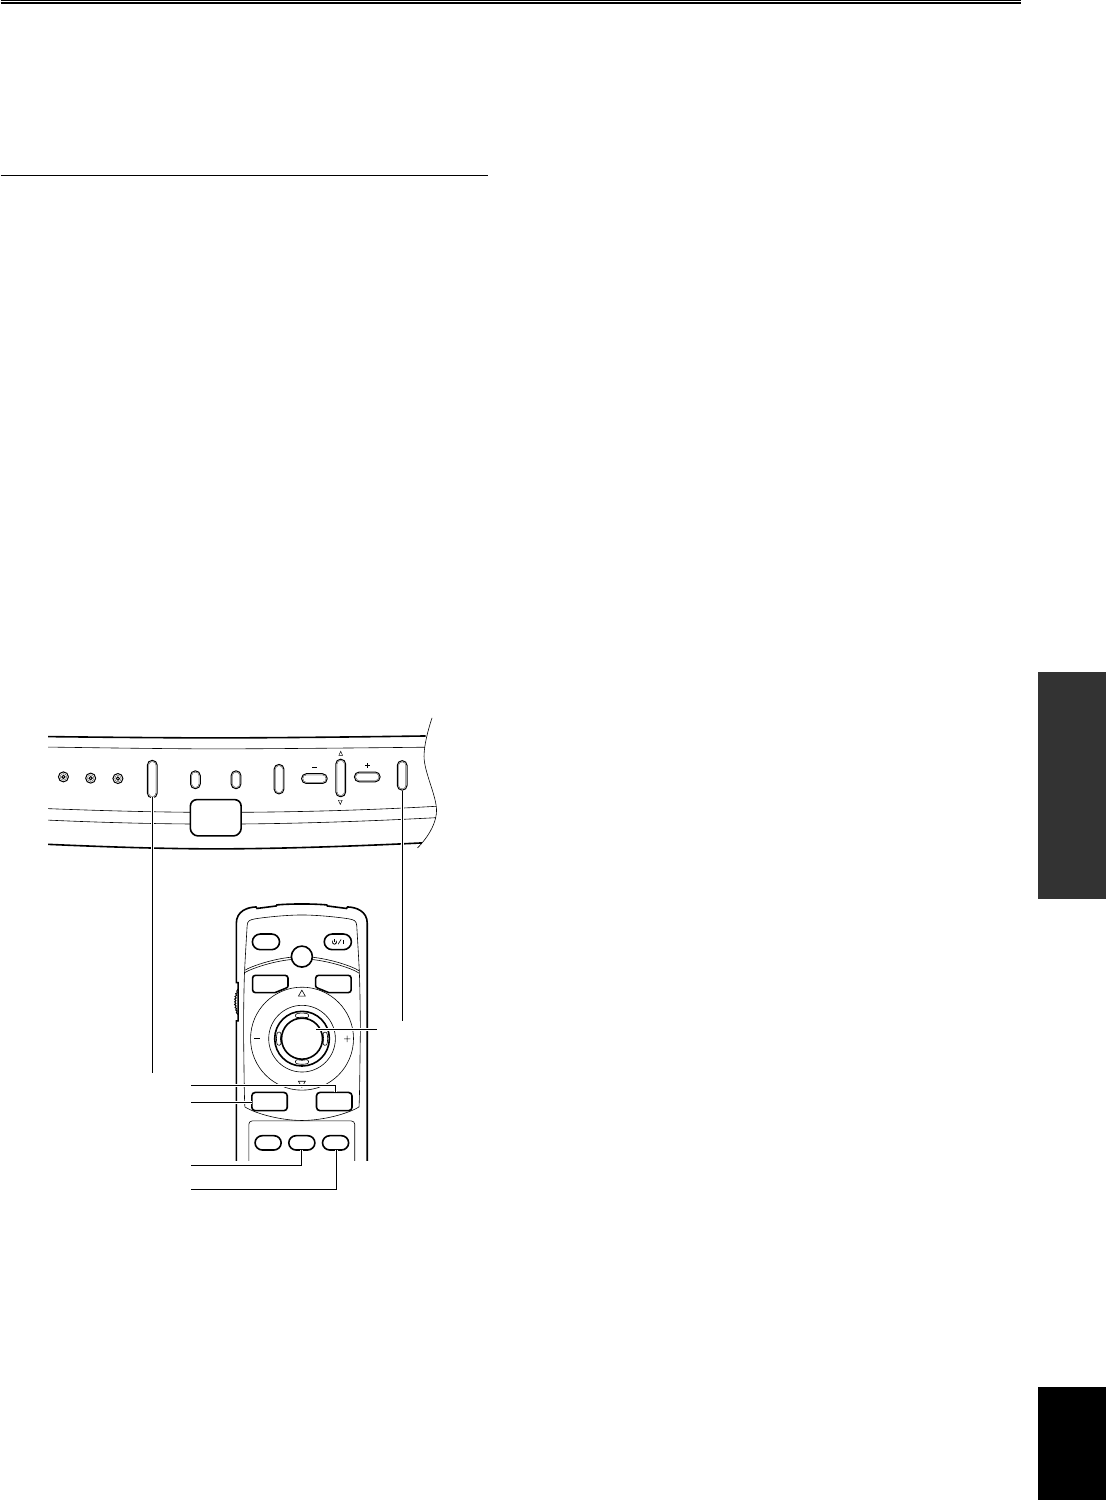
■ Selecting the input source
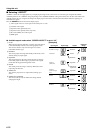
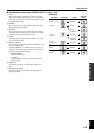
Press the INPUT button to display the menu for input signals on
the screen. Select the input terminal and the input signal to be
projected by pressing the h or g button, and confirm the selection
by pressing the SELECT button.
Input Source Signal to be projected
VIDEO Composite video signals input from an A/V component to
the VIDEO jack
S VIDEO S video signals input from an A/V component to the S
VIDEO jack
INPUT A <COMPONENT>
Component signals input to INPUT A (BNC jacks)
INPUT A <RGB PC>
RGB signals input from a computer to INPUT A (BNC
jacks)
INPUT A <RGB TV>
RGB signals input from an A/V component to INPUT A
(BNC jacks)
INPUT B <COMPONENT>
Component signals input to INPUT B (D-Sub15-pin
connector)
INPUT B <RGB PC>
RGB signals input from a computer to INPUT B (D-
Sub15-pin connector)
INPUT B <RGB TV>
RGB signals input from an A/V component to INPUT B
(D-Sub15-pin connector)
DVI Digital RGB signals input from a computer to the DVI
connector
D4 VIDEO Component signal input from an A/V component to the
D4 VIDEO connector
PATTERN MENU
INPUT
LAMP
/
COVER
TEMP
/
FAN
24P
ESCAPE
SELECT
AUTO
ESCAPE
SELECT
ASPECT
RESET STILL HIDE
INPUT
MENU
PATT
PATTERN
STANDBY/ON
INPUT
ASPECT
SELECT
STILL
HIDE
◆ Notes ◆
• When an ordinary video signal or an interlaced video signal of a 24-
frame/second film is input, the interlace/progressive (i/p) conversion
circuit built into this unit automatically identifies the type of signals. If
the signals of a film is input, the 24P indicator lights up in blue. Some
contents cannot be correctly detected.
• When the interlaced video signals of a film is input, this unit detects it
and the 24P indicator lights up in blue.
• When the signal from an A/V component or computer is input, it does
not go through i/p conversion, and the 24P indicator does not light up in
this case.
• This unit is compatible with VGA, SVGA, XGA, and SXGA for the
RGB signal from a computer. It is recommended to set to XGA to enjoy
clearer images when the screen aspect ratio is set to “4:3”.
• When this unit is set to display the output signals on both the LCD of a
notebook computer and on an external monitor, the image may not be
correctly displayed on the external monitor. In this case, set this unit to
display on only the external monitor. Refer to the operation instructions
of the computer for details.
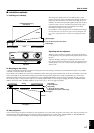
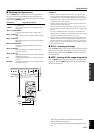
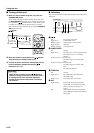
■ STILL—freezing the image
Press the STILL button on the remote control to capture the desired
frame of a moving image. This function can be effectively used to
adjust the image quality. Press the STILL button again to resume
normal projection.
■ HIDE—turning off the image temporarily
Press the HIDE button on the remote control to turn off the image
temporarily. Press the HIDE button again to bring back the image
that has been turned off.
• VGA, XGA, and SXGA are trademarks of International
Business Machines Corporation.
• SVGA is a trademark of Video Electronics Standards Associa-
tion.