Replacing the Printhead
54
P1052685-001 GC420d™ User Guide 5/23/2012
Replacing the Printhead
If you need to replace the printhead, read the procedure and review the removal and
installation steps before actually replacing the printhead.
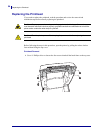
Before following the steps in this procedure, open the printer by pulling the release latches
forward then lifting the top cover.
Printhead Removal
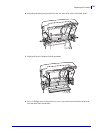
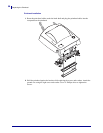
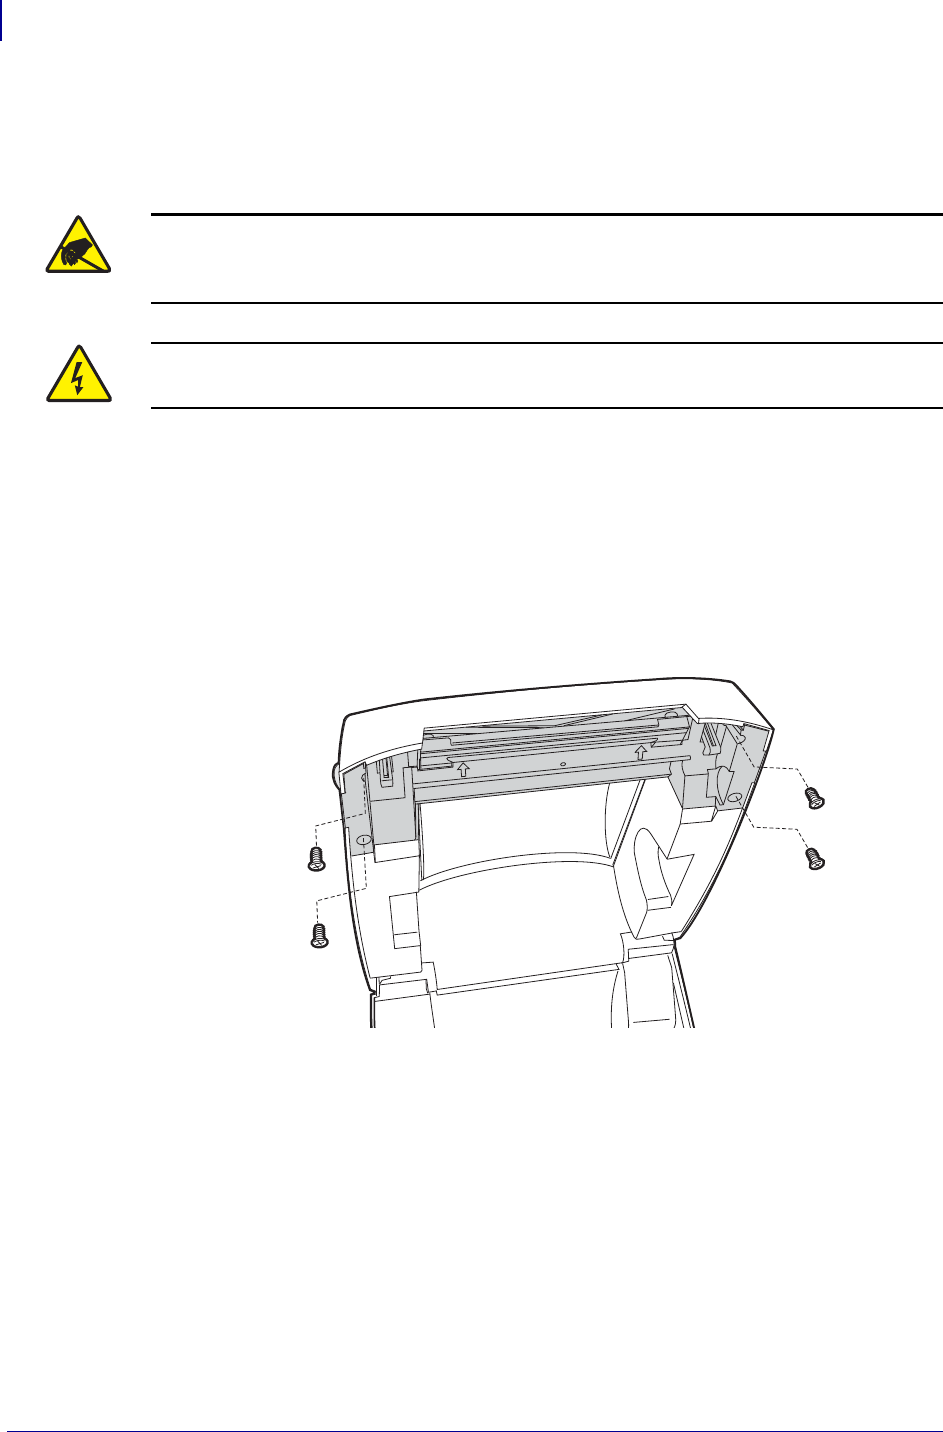
1. Use a #1 Phillips driver to loosen the four screws that hold the latch frame to the top case.
Caution • Prepare your work area by protecting against static discharge. Your work area
must be static-safe and include a properly grounded conductive cushioned mat to hold the
printer and a conductive wrist strap for yourself.
Caution • Turn the printer power off and unplug the power cord before replacing the
printhead.


