


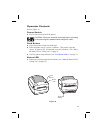
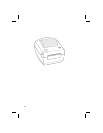


Printing a Test Label
Before you connect the printer to your computer, make sure that the printer
is in proper working order. You can do this by printing a configuration
label:
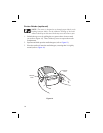
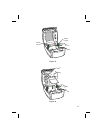
1. Make sure the media is properly loaded and the top cover of the printer
is closed. Then, turn the printer power on if you have not already done
so.
2. When the status LED is solid green, press and hold the feed button until
the status LED flashes once.
3. Release the feed button. A configuration label will print.
Ifyoucannotgetthislabeltoprint,refertoTroubleshooting.
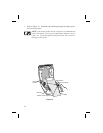
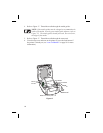
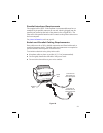
Hooking Up the Printer and Computer
CAUTION: The power supply barrel connector must be
inserted into the power supply receptacle on the back of the
printer before connecting or disconnecting the
communicationscables.(Ifnecessary,refertoFigure1.)
This printer comes with both a nine-pin Electronics Industries Association
(EIA) RS-232 serial data interface and an IEEE 1284-compliant
bidirectional parallel data interface. In either case, you must supply the
required interface cable for your application.
CAUTION: This printer complies with FCC “Rules and
Regulations,” Part 15, for Class B Equipment, using fully
shielded six-foot data cables. Use of longer cables or
unshielded cables may increase radiated emissions above the
Class B limits.
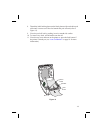
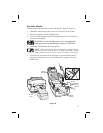
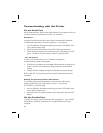
Serial (RS-232) Interface Requirements
The required cable must have a nine-pin “D” type (DB-9P) male connector
on one end, which is plugged into the mating (DB-9S) serial port located on
the back of the printer (refer to Figure 20). The other end of this signal
interface cable connects to a serial port at the host computer. Depending on
the specific interface requirements, this will most likely be a null modem
cable.
Fortechnicalandpinoutinformation,refertopage45.
20