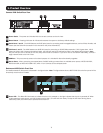
47
4. Local Console
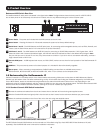
ThischapterexplainshowtooperatetheNetCommanderIPviathelocalconsole.Thelocalconsoleallowsyoutoaccessconnected
computer/servers,conguretheKVM’snetworksettings,andtoconguresomemorebasicsettingsspecictolocalaccess.
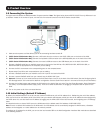
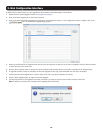
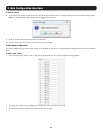
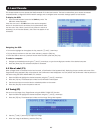
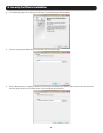
To display the OSD:
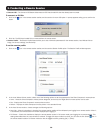
1. From the local keyboard, press the left Shift key twice. The
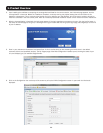
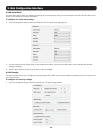
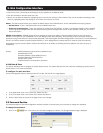
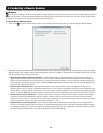
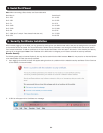
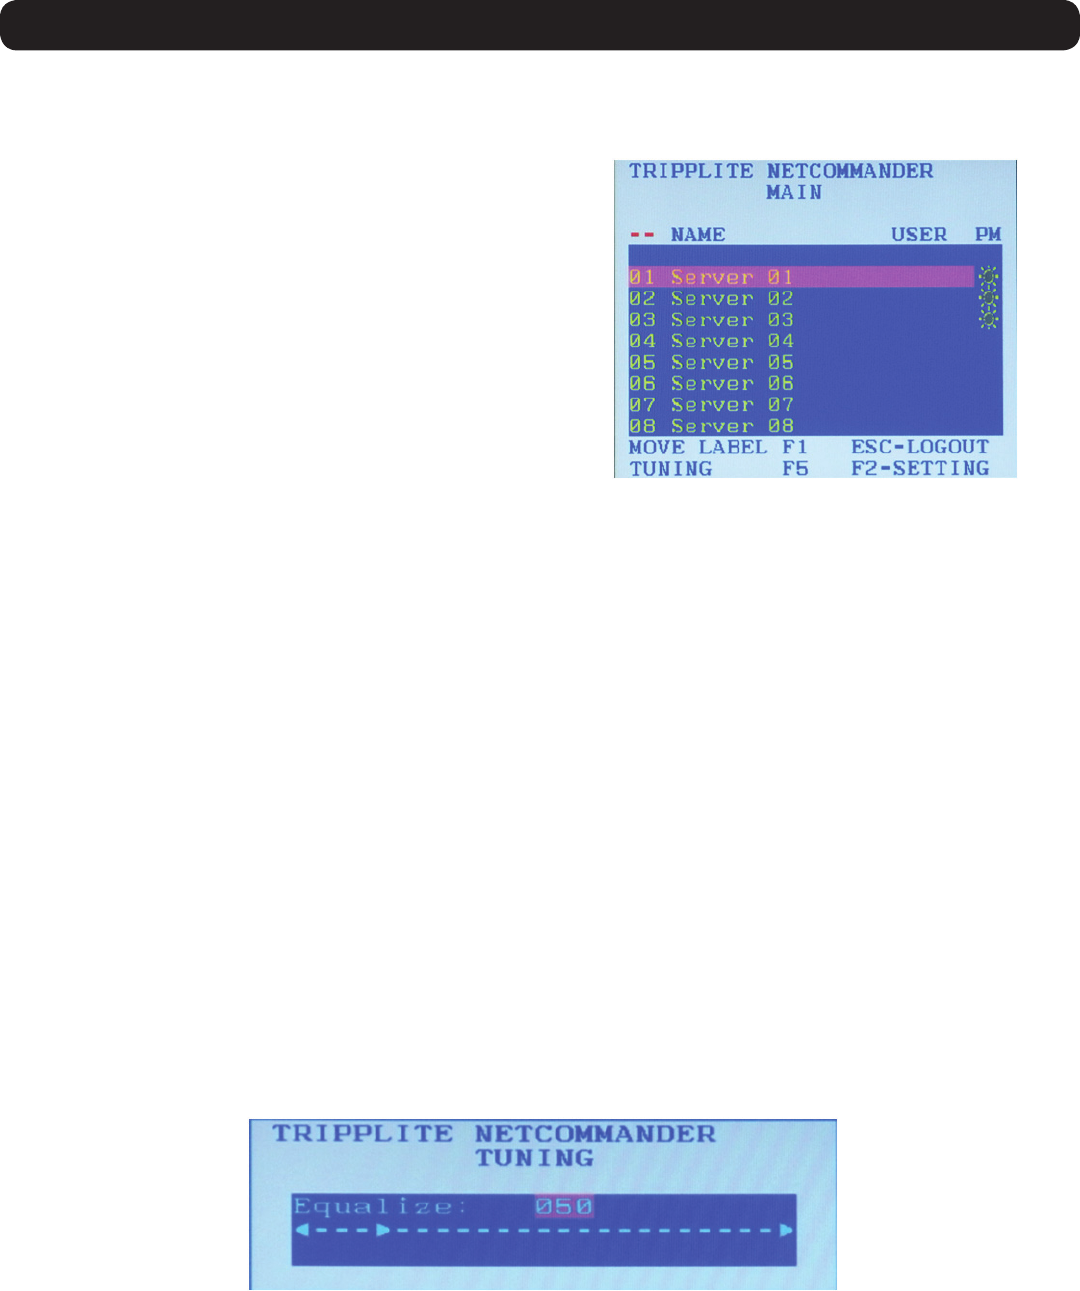
OSD Main window appears.
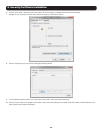
Lines with sun icons in the PM column show active computers/
servers. A computer that is connected, but is powered-off, does
nothaveasunicon.Whenaserverisbusy(whenanaccountis
accessing it in an Exclusive Session),theentirelineappearsinred
characters.
Navigating the OSD:
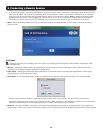
• To move the highlight bar throughout the list, press the [h] and [i] arrow keys.
• Tojumpfromonecolumntothenext(whenrelevant),pressthe[Tab]key.
• To exit the OSD or return to a previous window within the OSD, press the [Esc] key.
To select a computer:
1. Navigatetothedesiredportusingthe[h] and [i] arrow keys, or type the two-digit port number of the desired computer.
2. Press the [Enter] key. The selected computer is accessed.
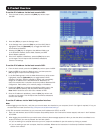
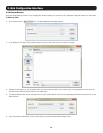
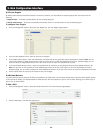
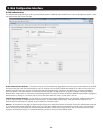
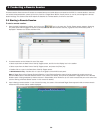
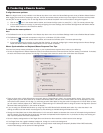
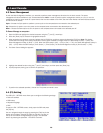
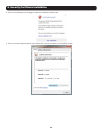
4.1 Move Label (F1)
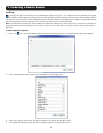
WhenaTargetServerisaccessedviathelocalconsole,aConfirmation Label appears briefly, displaying the port number and name of the
Target Server being accessed. After a few seconds, the Confirmation Label disappears.YoucanpositiontheConfirmation Label anywhere on
thescreenusingtheOSD’sMOVE LABEL (F1) function.
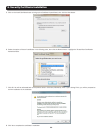
1. Open the OSD and highlight the desired computer using the [h] and [i] arrow keys.
2. Pressthe[F1]key.Theselectedport’svideoandConfirmation Label appear.
3. Use the arrow keys to move the label to a desired position on the screen.
4. Press the [Esc] key to save the position and exit.
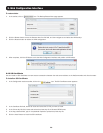
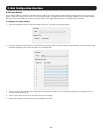
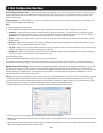
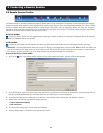
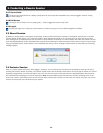
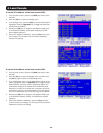
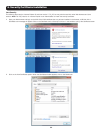
4.2 Tuning (F5)
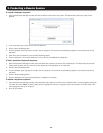
YoucantunetheimageofanyTargetServerusingtheOSD’sTUNING (F5) function.
1. Open the OSD and highlight the desired computer using the [h] and [i] arrow keys.
2. Pressthe[F5]key.Theselectedport’svideoandtheImage Tuning Label appears.
3. Use the [h] and [i] arrow keys to adjust the image.
4. Whentheimageissatisfactory,pressthe[Esc]key.