


Quick Installation Guide 19
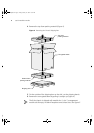
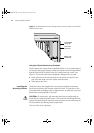
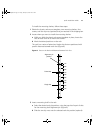
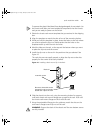
3 Position the chassis on its side so that you can access the bottom of the
chassis.
4 Remove the four feet and the four screws from the hardware kit.
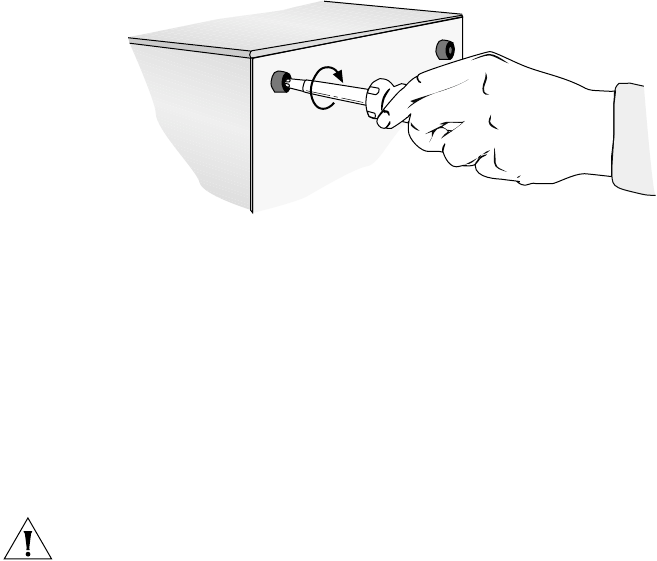
5 Using a flat-blade screwdriver, screw the feet to the bottom of the
chassis. See Figure 11.
Figure 11 Attaching Plastic Feet to the Switch 4007R Chassis
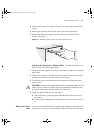
Installing the Chassis on a Table or Shelf To install the chassis on a
table or on a shelf, follow these steps:
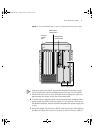
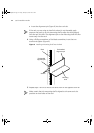
1 Using at least two people, lift and turn the chassis upright on its installed
plastic feet.
2 Position the chassis on the table or shelf so that the chassis rests upright
squarely on the table or on the shelf (on all four feet).
3 Ensure that the front and the rear of the chassis are unobstructed and
easy to reach.
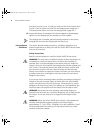
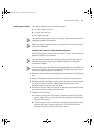
CAUTION: To prevent the plastic label bezel from being damaged, do not
attach it to the chassis until after you have installed all components into
the chassis and you are ready to power on the Switch.
4 Attach the plastic label bezel to the chassis.
a With both hands, grasp the plastic label bezel and face the front of
the chassis.
b Snap the plastic label bezel onto the top front of the chassis to secure
it.
Where to Go from
Here
To get your Switch 4007R and its components installed and configured so
that you can connect it to your network, follow the setup tasks shown in
4007RQS.book Page 19 Friday, January 25, 2002 10:27 AM