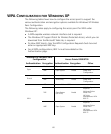
59
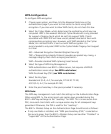
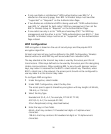
f WPA Key Management set to WPA Authentication over 802.1x.
g Click on Apply.
11 The Access Point is now configured for WPA Authentication over 802.1x.
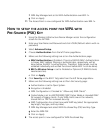
HOW TO SETUP THE ACCESS POINT FOR WPA WITH
PRE-SHARED (PSK) KEY
1 Using the Wireless Infrastructure Device Manger access the configuration
screen for the AP7250.
2 Enter your User Name and Password and click LOGIN (Default: admin with no
password)
3 Select Advanced Setup.
4 Choose Authentication from the left frame page Menu
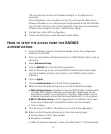
5 Make sure the following settings are set on the Authentication page:
aMAC Authentication is Disabled. (if Local or RADIUS MAC Authentication
is chosen MAC address filtering or authentication, respectively, will be
done before the 802.1x authentication. Therefore, these setups must be
validated individually and verified functional before 802.1x can be done).
b 802.1x Wireless Setup: is set to Disabled or Optional (if RADIUS clients
need access too).
c Click on Apply.
6 Click Security on the 802.11b/g radio from the left frame page Menu.
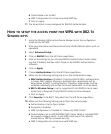
7 Make sure the following settings are set from the Security page:
a Authentication is set to Open System.
b Encryption is Enabled.
c WPA Configuration is Checked to “Allow only WPA Clients”.
d Cipher Mode is set to AES/TKIP/WEP (WEP Cipher Mode is intended ONLY
for support of legacy clients. If only WPA clients are on the network,
choose AES or TKIP for increased security).
e WEP Configuration has at least one valid WEP key (select the appropriate
key length, key type, and key index).
f WPA Key Management select WPA Pre-shared Key (PSK) and Key Type.
g Enter the WPA PSK
h Click on Apply.
8 The access point is now configured for WPA Pre-shared Key.


