


55
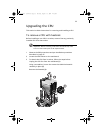
Upgrading the CPU
This section includes instructions for removing and installing a CPU.
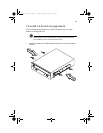
To remove a CPU with heatsink
Before installing a new CPU in a socket, remove first any previously
installed CPU from that socket.
Important: Before removing a CPU from the mainboard, make
sure to create a backup file of all important data.
1 Observe the ESD precautions and pre-installation procedures
described on page 37.
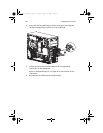
2 Locate the CPU sockets on the mainboard.
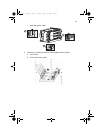
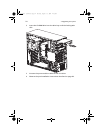
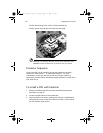
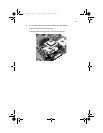
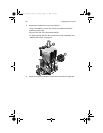
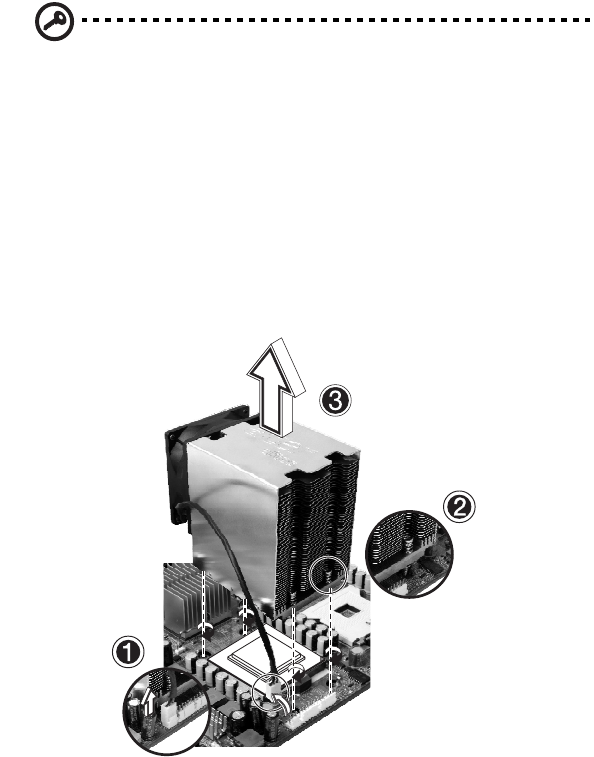
3 To detach the CPU from its socket, follow the steps below:
Unplug the CPU fan from the mainboard (1).
Using a screwdriver, loosen the screws that hold the heatsink
assembly in place (2).
Remove the heatsink (3).
BB!H631!.!FO/cppl!!Qbhf!66!!Uvftebz-!Bvhvtu!28-!3115!!5;13!QN