Chapter 9: Managing Logical Drives and Hot Spares ● 89
7 Click Next.
8 Review the new logical drive settings. To make changes, click Back.
Note: Some operating systems have size limitations for logical
drives. Before you save the configuration, verify that the size of the
logical drive is appropriate for your operating system.
9 To update your logical drive immediately, click Apply, then click Ye s .
To schedule the changes for later, click
Schedule
, set the date and
time, then click
Apply
. (For more information, see page 124.)
Deleting a Logical Drive
Caution: When you delete a logical drive, you lose all data stored on
that logical drive.
To delete a logical drive:
Ensure that you no longer need the data stored on the logical drive.
1 In the Enterprise View, click on the controller associated with the
logical drive.
2 In the Logical Devices View, click the logical drive.
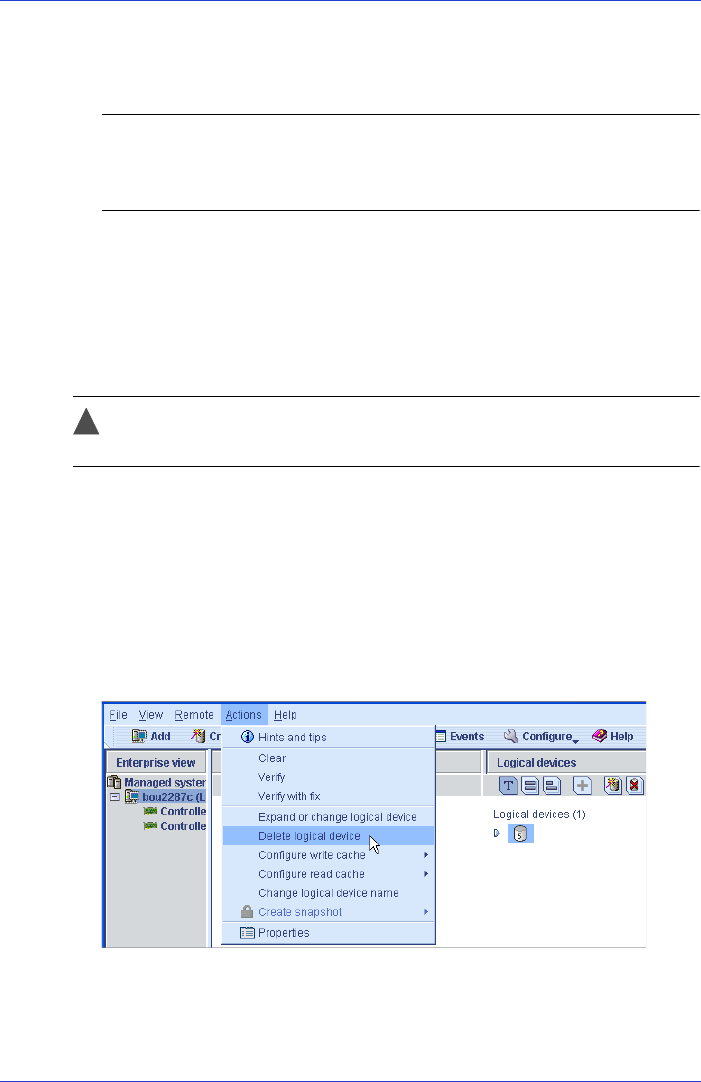
3 In the menu bar, select Actions, then click Delete logical device.
