Unit Installation NetVanta 3200/3300/3400 Series
68 Copyright © 2012 ADTRAN, Inc. 61200860L1-34AB
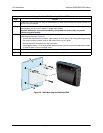
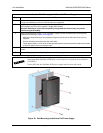
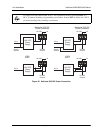
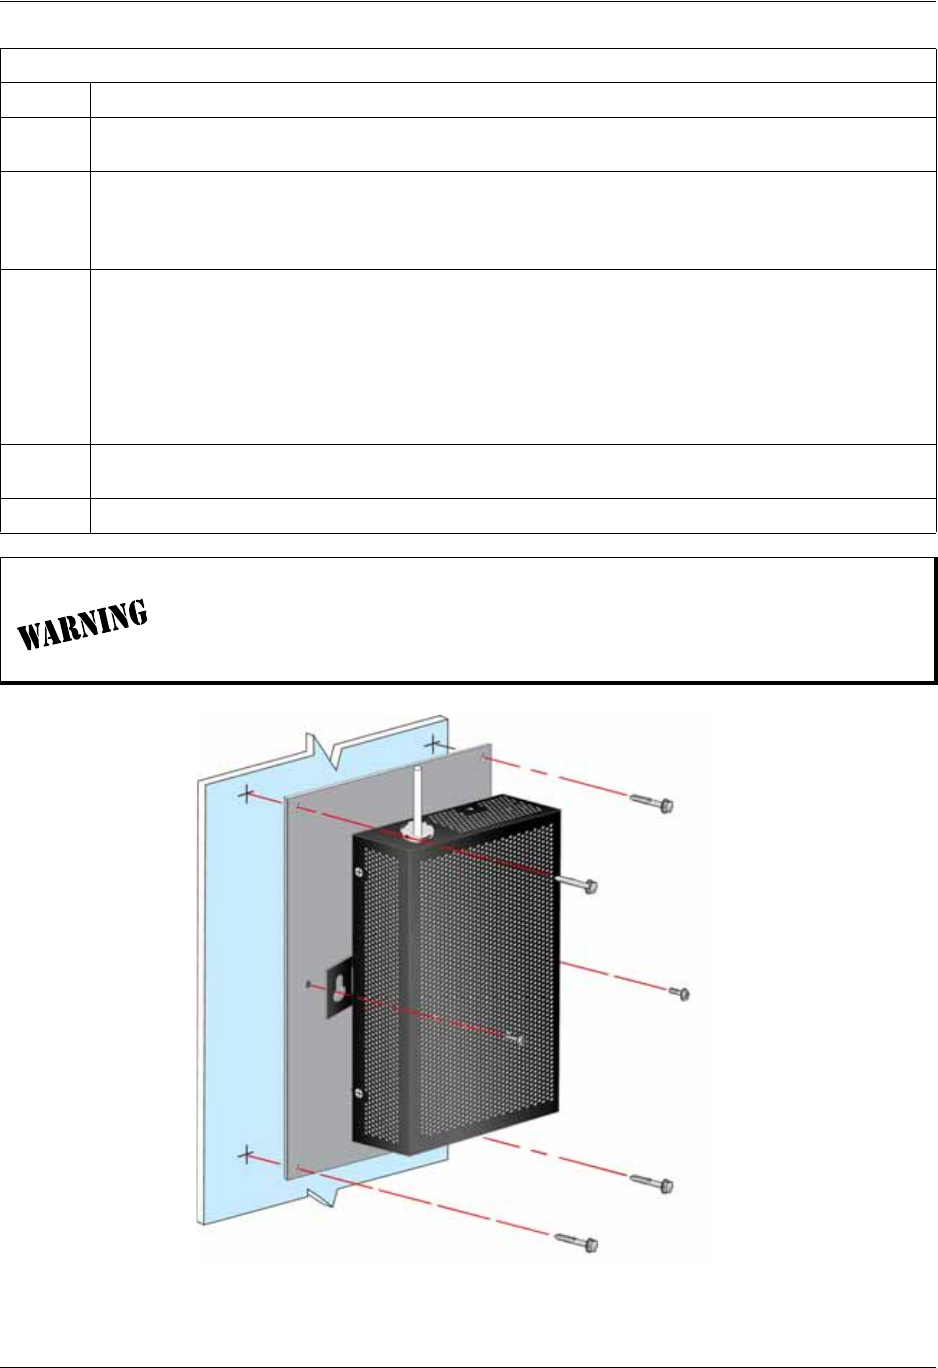
Figure 33. Wall Mounting the NetVanta PoE Power Supply
Instructions for Wall Mounting the NetVanta PoE Power Supply
Step Action
1
Decide on a location for the power supply. Keep in mind that the power supply needs to be mounted close
enough to the NetVanta unit for the cords to reach the receptacles.
2
Prepare the mounting surface by attaching a board (typically plywood, 3/4-inch to 1-inch thick) to a wall
stud using #6 to #10 (2.5-inch or greater in length) wood screws.
Important! Mounting to a stud ensures stability. Using sheetrock anchors may not provide
sufficient long-term stability.
3
Install two #8 PAN head screws (1-inch or greater in length) into the mounted board, following these
guidelines and referring to Figure 33 on page 68.
• Mark the exact positioning of the screws by using the keyhole slots on the sides of the unit as a
template.
• Screws should be horizontally level with each other.
• Leave approximately 1/4-inch of the screws protruding from the board to allow the heads of the screws
to slide into place in the unit’s keyhole slots.
4
Insert the screws through the keyhole slots in both sides of the unit and slide the slot securely onto the
screws.
5
Proceed to the steps given in Supplying Power to the Unit on page 69.
The NetVanta PoE power supply and the NetVanta base unit with which it is
associated both should be installed in a restricted access location as described in
UL 60950-1.
Under full load, the NetVanta PoE power supply may be hot to the touch.


