


Manually Configuring Network Settings
76
In order for your computer to properly communicate with your Router, you will need
to change your PC’s TCP/IP settings to DHCP.
Manually Configuring Network Adapters in Windows 2000, NT, or XP
1.
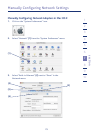
Click “Start”, “Settings”, then “Control Panel”.
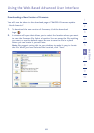
2. Double-click on the “Network and dial-up connections” icon (Windows
2000) or the “Network” icon (Windows XP).
3. Right-click on the “Local Area Connection” associated with your network
adapter and select “Properties” from the drop-down menu.
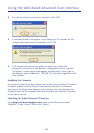
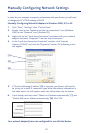
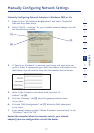
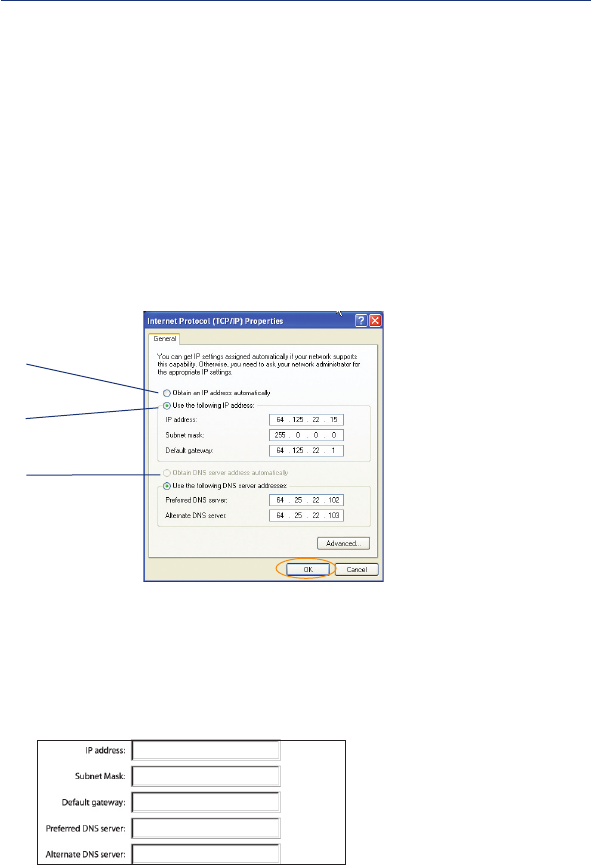
4. In the “Local Area Connection Properties” window, click “Internet
Protocol (TCP/IP)” and click the “Properties” button. The following screen
will appear:
(1)
(2)
(3)
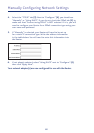
5. If “Use the following IP address” (2) is selected, your Router will need to
be set up for a static IP connection type. Write the address information in
the table below. You will need to enter this information into the Router.
6. If not already selected, select “Obtain an IP address automatically” (1) and
“Obtain DNS server address automatically” (3). Click “OK”.
Your network adapter(s) are now configured for use with the Router.