Alternate Setup Method
24
Step 2
Set up your Computer’s Network Settings to
Work with a DHCP Server
See the section in this User Manual called “Manually Configuring Network
Settings” for directions.
Step 3
Configure the Router Using the Web-Based
Advanced User Interface
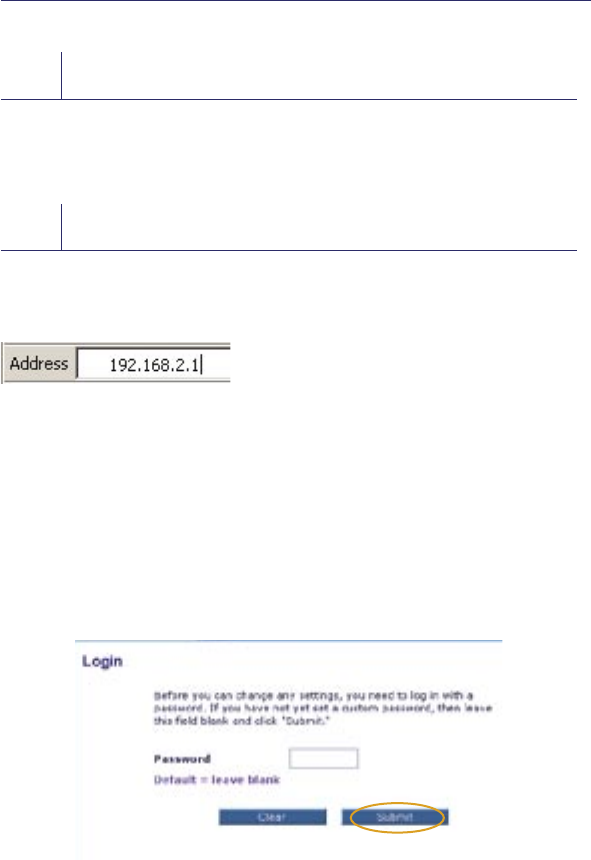
Using your Internet browser, you can access the Router’s Web-Based Advanced
User Interface. In your browser, type “192.168.2.1” (you do not need to type
in anything else such as “http://” or “www”). Then press the “Enter” key.
PLEASE NOTE: If you have difficulty accessing the Router’s Web-Based
Advanced User Interface, go to the section entitled “Manually Configuring
Network Settings”.
Logging into the Router
You will see the Router’s home page in your browser window. The home page
is visible to any user who wants to see it. To make any changes to the Router’s
settings, you have to log in. Clicking the “Login” button or clicking on any one
of the links on the home page will take you to the login screen. The Router
ships with no password entered. In the login screen, leave the password blank
and click the “Submit” button to log in.


