6. Setup
If the Security mode is enabled, a textbox will be displayed for PIN code entry, see Security settinginthe
Installation menu
6.4 Setting up the RCU address
What has to be done ?
To allow the communication between the RCU and the projector the RCU has to be programmed with the same address as the
projector.
This address must be in the range 0–9.
To know the address of the projector, one can visualize it in projection mode (on screen) as well as in standby mode (shown with
the LED’s on top cover of the projector).
For more info on addresses see the appendix
At this stage the image projected may happen to be upside down or mirrored, this can
be set in the Installation
menu under Projector orientation (see further setting up the projector’s orientation).
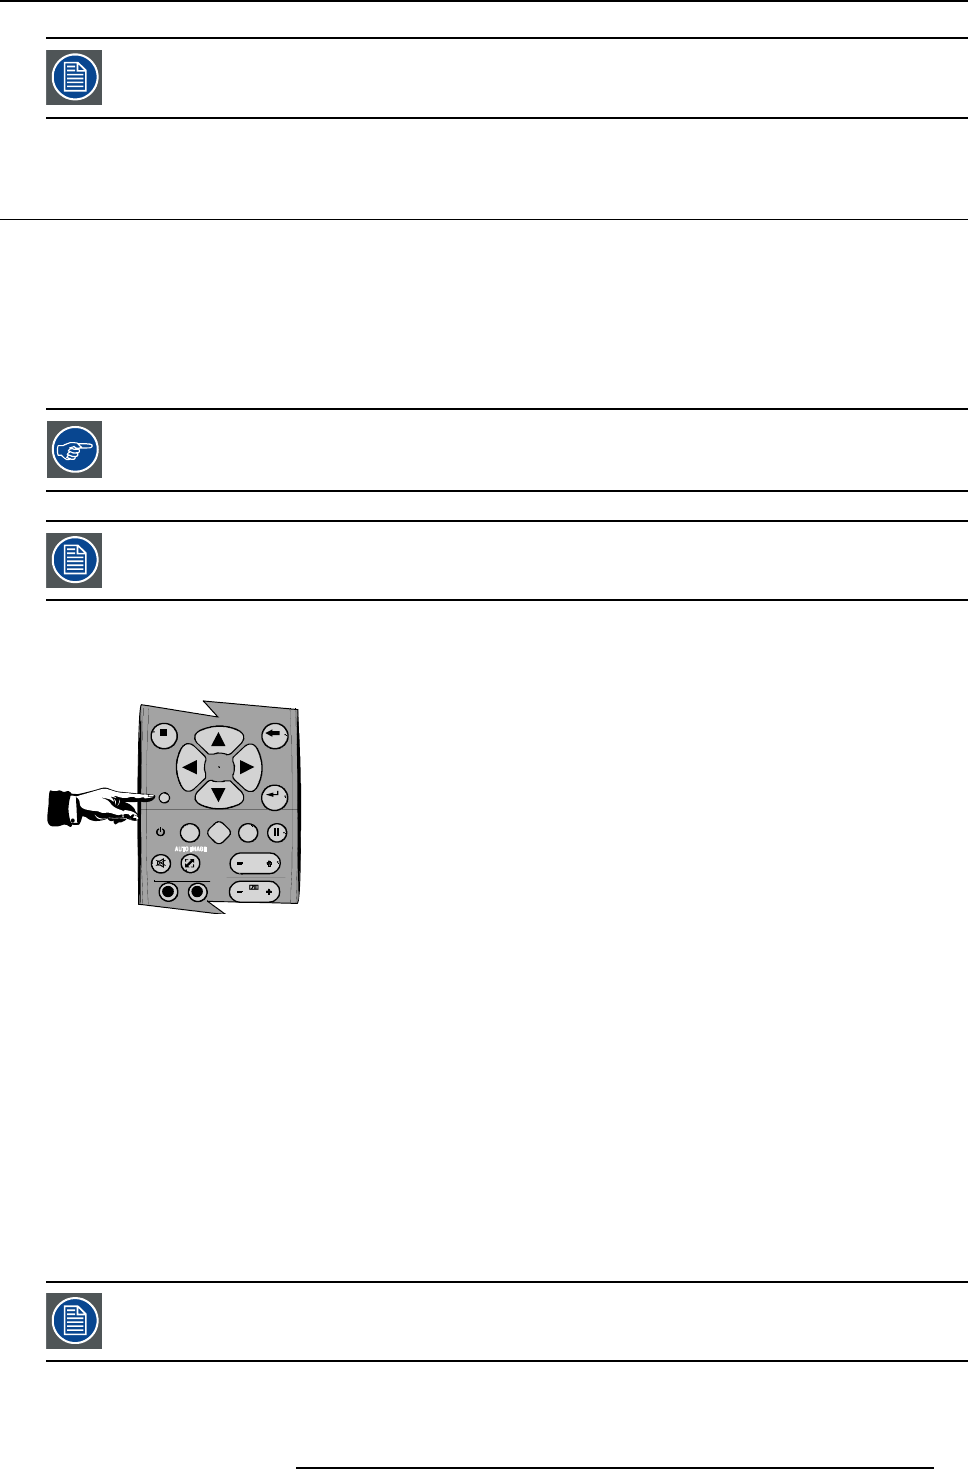
Displaying the Projector Address in Standby mode
1. Press the Address key (recessed key on the RCU) with a pencil.
9
0
EN TER
MENU BA
C
K
DI
G
I
Z
OO
M
PH A
SE
PA U
SE
PIP
L
OGO
Image 6-4
All the LED’s (3) on the top cover of the projector go out.
Then LED1 starts blinking green the number of hundreds. After that LED2 starts blinking the number of tens. Finally LED3 starts
blinking green the number of units. If this is done, the original status of the LED’s is restored.
Displaying the Projector Address in projection mode)
1. Press the Address key (recessed key on the RCU) with a pencil.
The projector’s address will be displayed on the
screen in a Textbox
Programming the RCU
1. Push the address key If the address is not entered within 5 seconds, the RCU returns to its default address (zero address) and
controls then all projectors in the room.
2. Enter the same address with the digit buttons within 5 seconds after pushing the address key.
The projector can now be controlled with the RCU.
For example : if the projector address is 3, then press "3" on the RCU to set the RCU’s address to match the
projector’s address.
R5976992 ICON H250/400 13/12/2006 33


