


Installation
8
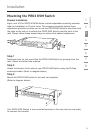
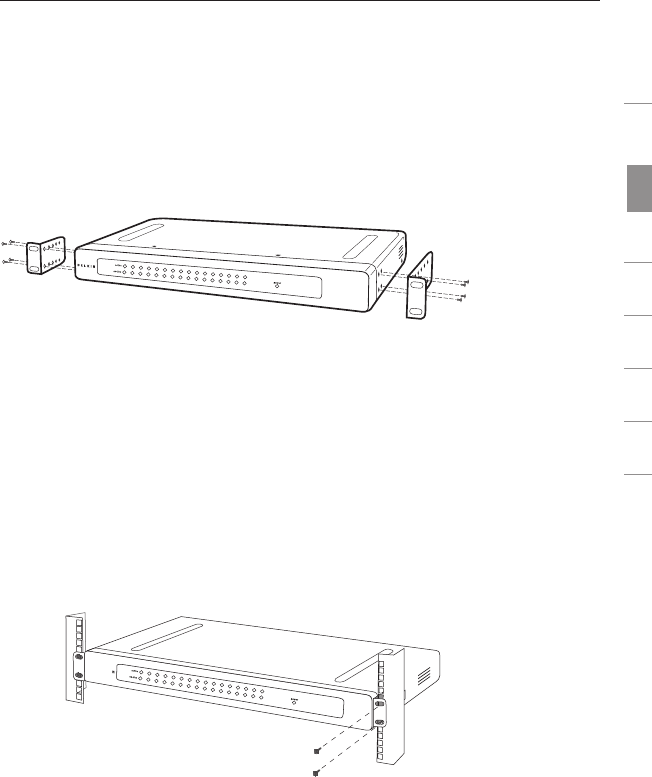
Mounting the PRO3 KVM Switch
Bracket Installation
Eight- and 16-Port PRO3 KVM Switches include adjustable mounting brackets
ideal for installation in 19-inch racks. The mounting brackets feature three
adjustment positions to allow you to set the PRO3 KVM Switch’s face flush with
the ends of the rails or to extend the PRO3 KVM Switch past the front of the
rails. Please follow these simple steps to achieve the desired adjustment.
Step 1
Determine how far you would like the PRO3 KVM Switch to protrude from the
rack. Select a bracket-hole scheme.
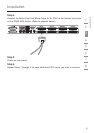
Step 2
Attach the bracket to the side of your PRO3 KVM Switch using the Phillips
screws provided. (Refer to diagram below.)
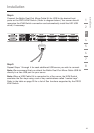
Step 3
Mount the PRO3 KVM Switch to the rack-rail assembly.
(Refer to diagram below.)
Your PRO3 KVM Switch is now mounted securely to the rack and you are ready
to connect the console.
1
2
3
4
5
6
7
8
section