Overview of Sending Methods
3-13
3
Basic Operations
Direct Sending
NOTE
• Direct Sending scans and sends each page one at a time.
• With Direct Sending, you can watch each page as it is scanned and sent.
• Although Direct Sending is slower than Memory Sending, you can use Direct Sending if you need to
send an urgent document ahead of other documents stored in memory.
• You can also use Direct Sending when the memory is full, and there is no space to hold another
document in memory.
1
Place your documents on the machine.
For instructions explaining how to place your documents, see “Setting the
Document on the Machine”, on p. 2-2.
NOTE
• You can adjust the resolution, contrast, and document type for scanning. (See “Adjusting
the Scan Settings”, on p. 2-4.)
• You can also specify a sender’s name with [TTI Selector]. (See Chapter 3, “Sending
Documents”, in the Facsimile Guide.)
2
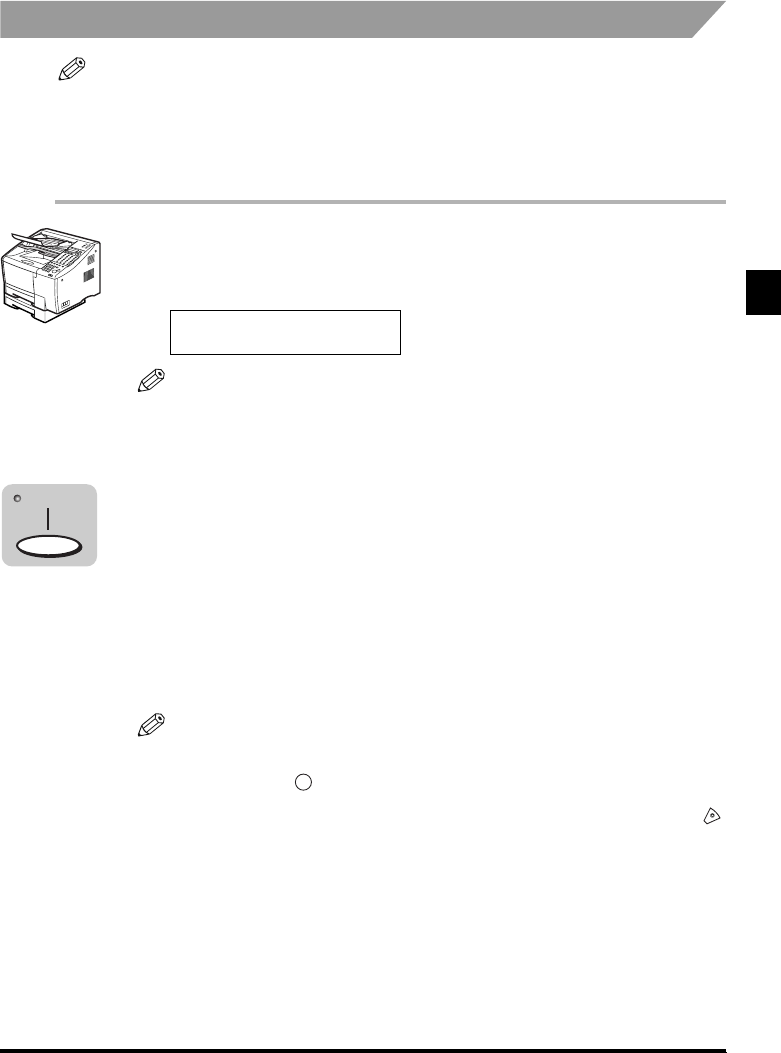
Press [Direct TX].
The Direct TX indicator lights.
The Direct Sending mode is activated.
3
Specify the destination.
You can specify the destination using regular dialing, one-touch speed dialing,
coded speed dialing, access code dialing, or directory dialing. (See “Using
Regular Dialing”, on p. 3-9, “Using Speed Dialing”, on p. 3-21, or “Using
Directory Dialing”, on p. 3-25.)
NOTE
• When entering a number using regular dialing, if you see that you have entered an
incorrect digit, press [Delete] to delete the rightmost digit
➞
enter the correct digit.
• You can also use (Clear) to clear the entire telephone number
➞
start entering the
telephone number again.
• If you notice that you made a mistake while the machine is dialing the number, press
(Stop) to return to the Standby mode
➞
start again.
DOCUMENT READY
Direct TX
C


