19
BEFORE OPERATION
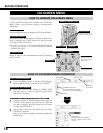
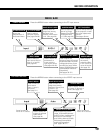
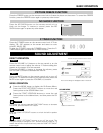
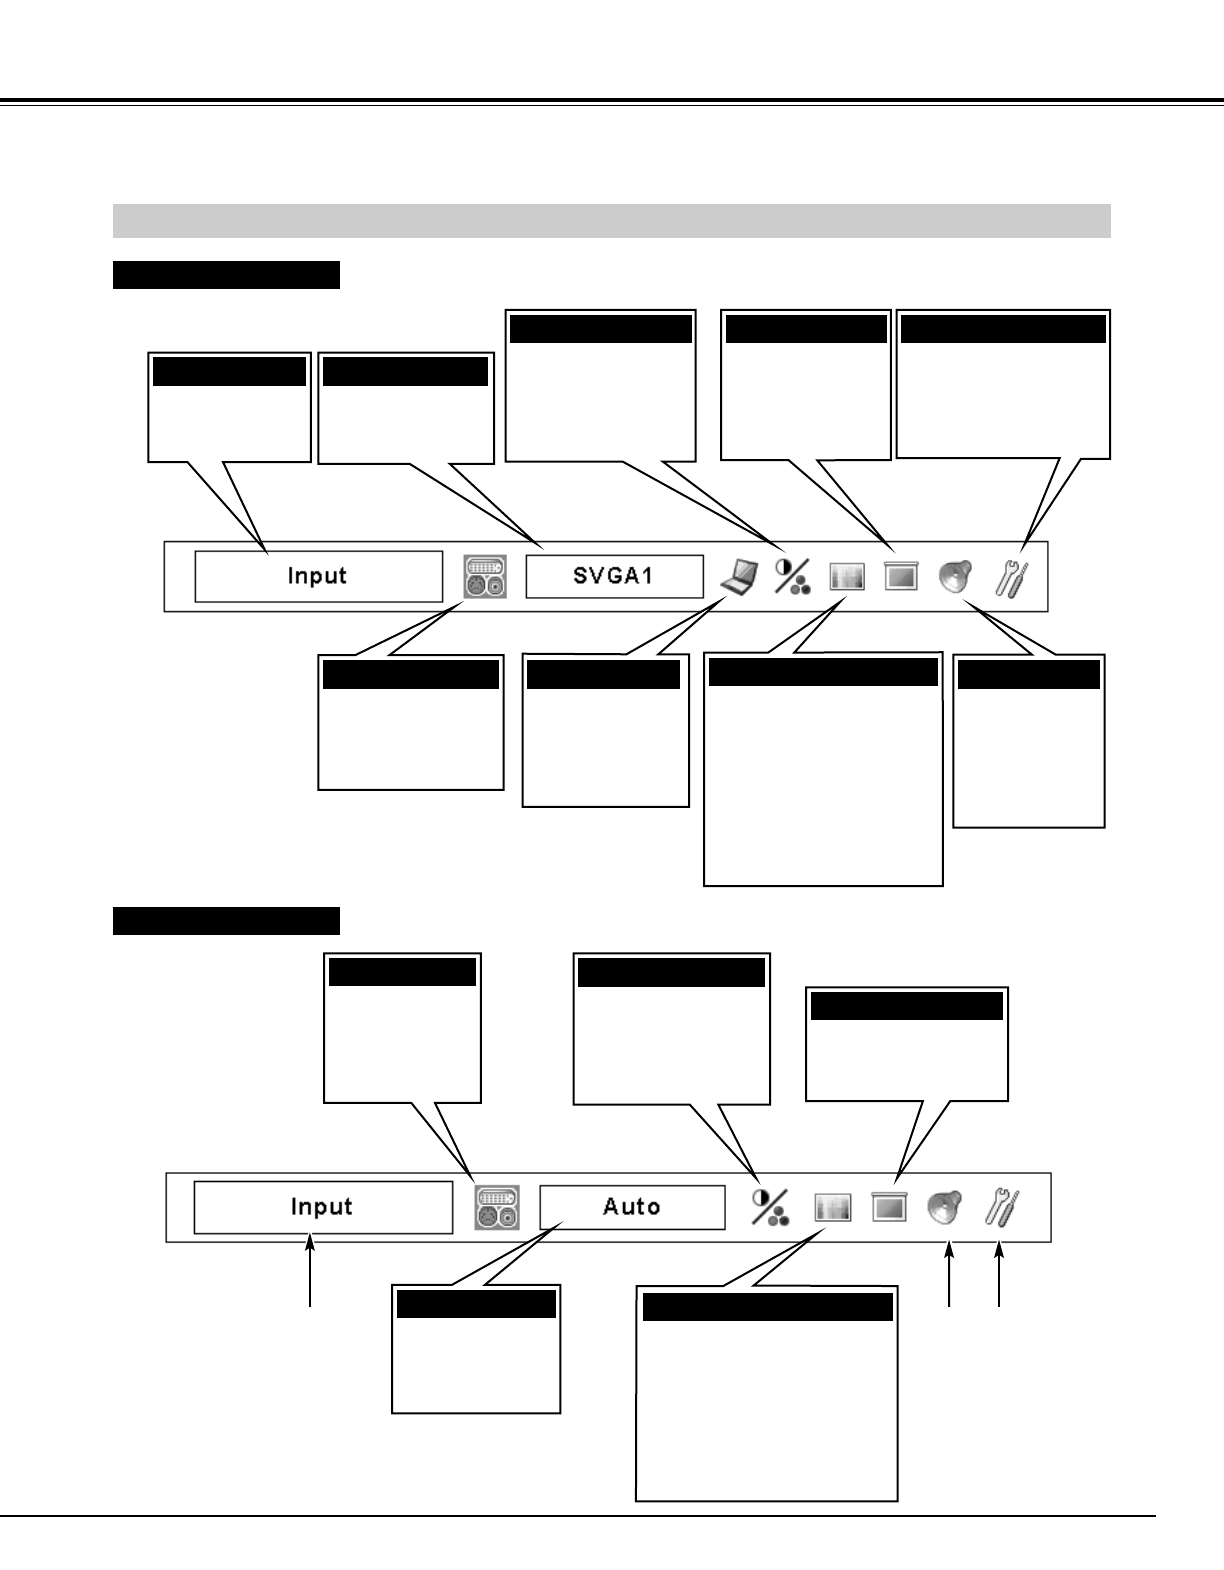
MENU BAR
FOR PC SOURCE
Press the MENU button when connecting to the PC input source.
FOR VIDEO SOURCE
Press the MENU button when connecting to the VIDEO input source.
Same function as
menu for PC source.
Same function as
menu for PC source.
GUIDE WINDOW
Shows the
selected item of
On-Screen Menu.
PC SYSTEM MENU
Used to select a
computer system.
(See pages 24–25.)
IMAGE SELECT MENU
Used to select an
image level among
Standard, High
contrast, and Custom
1–10. (See page 29.)
SCREEN MENU
Used to adjust the
size of an image.
[Normal/True/Wide/
Full/Digital zoom
+/–] (See page 30.)
SETTING MENU
Used to change settings
of the projector or reset
the Lamp replacement
counter.
(See pages 38–44.)
SOUND MENU
Used to adjust
the volume,
switch the Built-
in SP. On/Off, or
mute the sound.
(See page 23.)
IMAGE ADJUST MENU
Used to adjust the
computer image. [Contrast/
Brightness/Color/Tint/Color
management/Auto picture
control/Color temp./White
balance (R/G/B)/Sharpness/
Gamma/Noise reduction/
Progressive]
(See pages 35–37.)
PC ADJUST MENU
Used to adjust the
parameters to
match with the
input signal format.
(See pages 26–28.)
INPUT MENU
Used to select an
input source (Input 1,
Input 2, or Input 3).
(See page 24.)
INPUT MENU
Used to select an
input source
(Input 1, Input 2,
or Input 3).
(See page 31.)
IMAGE SELECT MENU
Used to select an
image level among
Standard, Cinema, and
Custom 1–10.
(See page 33.)
SCREEN MENU
Used to adjust the size
of image to Normal or
Wide. (See page 34.)
IMAGE ADJUST MENU
Used to adjust the picture
image. [Contrast/Brightness/
Color/Tint/Color management/
Auto picture control/Color
temp./White balance (R/G/B)/
Sharpness/Gamma/Noise
reduction/Progressive]
(See pages 35–37.)
AV SYSTEM MENU
Used to select the
system of selected
video source.
(See page 32.)


