87
Operation Setting Functions from Menus
Setting Display Status (Input Settings)
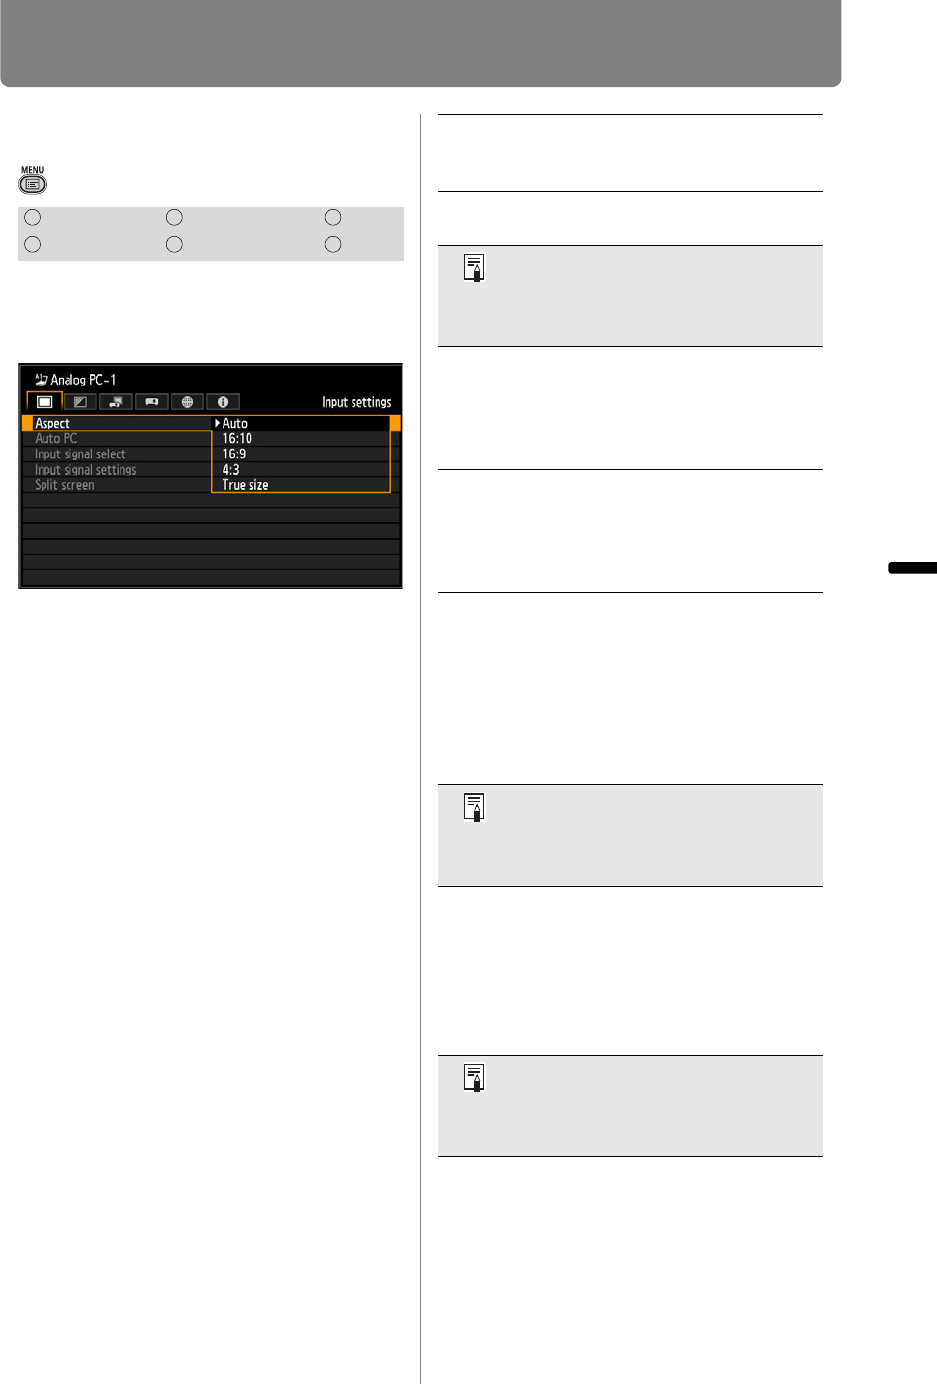
Selecting the Aspect
> [Input settings] > [Aspect]
You can select a projection mode
corresponding to the aspect ratio of
the image. (P66)
• For LAN and USB input, [Auto] is selected
automatically.
• Different contents are displayed for different
screen aspects or input signal types.
• The ASPECT button on the remote control
can also be used to select the [Aspect]
settings.
Press the OK button to accept your
setting and then press the MENU
button or EXIT button.
HDMI Component LAN
Digital PC Analog PC USB
Auto An image is projected at the aspect
ratio of the input signal. Select this
mode for normal image projection.
16:10 The image is projected using an
input signal aspect ratio of 16:10.
• There may be some cases when
this cannot be selected,
depending on the input signal
and/or resolution.
16:9 The image is projected using an
input signal aspect ratio of 16:9.
Select this if an image of 16:9
aspect ratio cannot be correctly
projected in [Auto] mode.
4:3
The image is projected using an
input signal aspect ratio of 4:3.
Select this if an image of 4:3 aspect
ratio cannot be correctly projected in
[Auto] mode.
Zoom This cuts the upper/lower or left/
right part of the screen according to
the screen aspect and zooms in or
out of the center of the image.
Select this if a letter box is
displayed (black lines at the top/
bottom of the screen) when
watching video.
• There may be some cases when
this cannot be selected,
depending on the input signal
and/or resolution.
True
size
The image is projected with the
original resolution of the input
signal. Select this for clear
projection of computer screens at
up to WUXGA (WUX450/
WUX400ST) or WXGA+ (WX520/
WX450ST) resolution.
• There may be some cases when
this cannot be selected,
depending on the input signal
and/or resolution.
