


E-16
B
L
e
t
up
m
oCCBA
AS
N
AS
2
2
m
c4.04×4
a
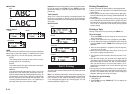
• If you wanted to break the text up into three blocks, you
would input another block mark.
To delete a block mark
To delete a block mark, use the procedures for BS and DEL
as described under “Deleting Individual Characters” (page
E-11).
Block Operations
The procedures in this section can be used to control the
following parameters for each block.
• Direction (vertical, horizontal)
• Alignment (left, center, right, uniform spacing)
• Justification (justify, ragged)
• Character pitch (none, narrow, medium, wide)
• Block length (auto, fixed)
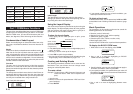
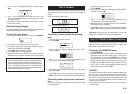
Use the BLOCK FORM menu to perform block operations.
To display the BLOCK FORM menu
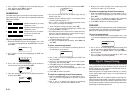
1. While there is text on the display, press FORM.
–––––
M
R
O
F
–––––
M
R
O
F
KC
O
L
B
M
R
O
FLLA
2. Use u and i to move the highlighting to “BLOCK
FORM” and then press SET.
––
M
R
O
FK
C
O
LB
––
–
E
G
N
A
R
–
K
C
O
LBE
N
O
SK
C
O
LBLLA
3. Specify whether you want your specifications to apply to
one block or all blocks and then press SET.
• If you specify one block, the specifications you make will
be applied to the block where the cursor was located when
you pressed FORM.
––
M
R
O
FK
C
O
LB
––
Z
R
O
HN
O
IT
C
E
R
I
D
TFEL
N
G
ILA
YFITS
U
JYFITS
U
J
• Use u and i to move the highlighting between menu
items.
(See page E-19)
Part 7 FORM Menu Functions
This part of the manual describes how to use the FORM menu
to layout your text exactly the way you want it on the label.
With the FORM menu, you can control character pitch, text
blocks, text alignment, and a wide range of other features.
Fundamentals of Label Layout
Before we actually begin our discussion about how to lay-
out a tape, we should first define a few terms. Note the fol-
lowing.
Blocks
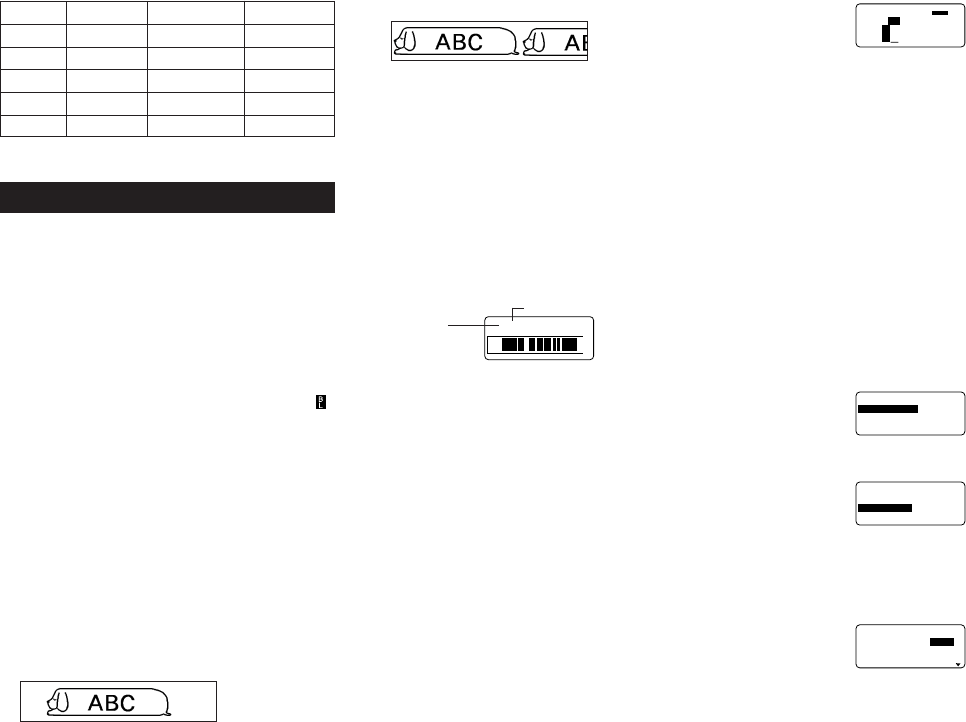
A block is text that is enclosed between two block marks ( ).
Note that the first (far left) block does not require a block
mark at the beginning, and the last (far right) block does not
require a block mark at the end. If there are no block marks,
all of the text is treated as a single block. You can individually
specify the length of each block, as well as the pitch and the
number of lines of inside each block.
Print Area
The print area is the actual area of a label that contains
printed text. It starts with the left side of the first character
printed, and ends with right side of the last character printed.
Side Spaces
The side spaces are blank areas that the Label Printer au-
tomatically adds on either end of the print area. Note that
side spaces are only added when you are using auto feed,
and they are not added when using manual feed.
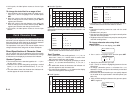
Auto Feed (with side spaces)
24mm
18mm
12mm
9mm
6mm
1 line
1 line
1 line
1 line
–
6 lines max.
6 lines max.
3 lines max.
3 lines max.
1 line max.
8 lines max.
8 lines max.
5 lines max.
4 lines max.
2 lines max.
Tape Width Plain Text Print Area Frame Character Frame
Manual Feed (no side spaces)
Label Length
The label length is the print area, plus the side spaces.
Settings you make for side spaces, block spacing, and mir-
ror printing affect the entire label length.
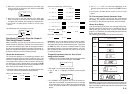
Using the Layout Display
You can check the layout of your label at any time using the
layout display. The layout display shows all of the graphics
and text elements that make up your label to give you a
general idea of how the label is laid out.
To show the layout display
1. After laying out the label you plan to print, press
LAYOUT.
m
c6.9
→
L1
2. If the label layout is too big to fit on a single display, use t
and y to scroll it.
• Pressing t returns to the top of the layout.
3. Press ESC to quit the layout display.
• You can view the actual appearance of the label using the
image display, which is described on page E-19.
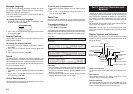
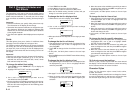
Creating and Deleting Blocks
The following procedures describe how to create and de-
lete blocks. Later you will learn how can change certain
settings on a block-by-block basis.
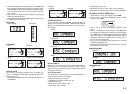
To create a block
Example: To input the text “ABC Computer Company” and
create two blocks: “ABC” and “Computer Com-
pany”.
1. Input the text.
2. Move the cursor to the space between “ABC” and “Com-
puter Company”.
3. Press BLOCK.
Screen number
(when the entire
layout does not fit on
a single screen)
Feed setting (E-18)