


E-24
2. Use u and i to move the highlighting to “RECALL”
and then press SET.
a
?
HCR
AES
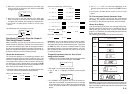
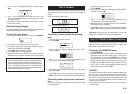
3. Press SET without inputting anything and the first item
stored in memory appears.
4. Use u and i to scroll through the items in memory
until the one you want is on the display.
5. Press SET.
––––
Y
R
O
M
E
M
––––
–
LLA
C
E
R
–
W
E
N
E
N
IB
M
O
C
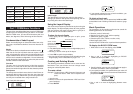
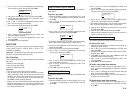
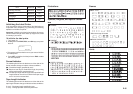
• What you do next depends on whether or not you want to
delete existing text on the display or combine the recalled
text with existing text.
NEW
1. Use u and i to move the highlighting to “NEW”.
2. Press SET to delete any text that was previously on the
input screen and replace it with the recalled text.
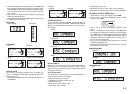
COMBINE
1. Use u and i to move the highlighting to “COMBINE”
and then press SET.
2. Use t and y to move the cursor to the location where
you want the recalled text inserted and then press SET.
To recall memory text using character search
1. Press MEMORY.
2. Use u and i to move the highlighting to “RECALL”
and then press SET.
3. Input the characters you want and then press SET to
start the search operation.
• The first item that starts with the characters you input ap-
pears on the screen.
• The characters must come at the very beginning of the
item. The label printer does not find the characters if they
come at the beginning of a block or line inside the item.
4. Continue from step 4 under “To recall memory text using
sequential search.”
To delete memory text
1. Press MEMORY.
2. Use u and i to move the highlighting to “DELETE”
and then press SET.
3. Use either sequential search or character search to dis-
play the memory text you want to delete and then press
SET.
4. Press SET to delete the data.
Part 13 Data Communication
• The FA-920 makes it possible for you to use the label
printer to print data created on your personal computer.
Important!
• Data communication with a personal computer requires
Computer Link software and a data communication ca-
ble.
• See the documentation that comes with the Computer Link
software for details on how to operate it.
• Data communication with your label printer requires a
specific computer system configuration as described in
the documentation that comes with the Computer Link
software. You may not be able to exchange data with a
personal computer that does not conform with the required
system configuration.
• After finishing with a data communication operation (in-
cluding printing), press ESC to exit the Data Communica-
tion Mode. All other functions are disabled while data com-
munication is being performed.
Part 14 Reference
This section contains information about the label printer that
you can use as reference when you need it.
Cleaning the Printer Head and Roller
A dirty printer head and roller can result in poor printing
quality. If you have problems with print quality, use the fol-
lowing procedure to clean the printer head and roller.
To clean the printer head and roller
1. Make sure the label printer is turned off.
2. Press the tape cartridge compartment cover release and
open the compartment cover.
3. Remove the tape cartridge.
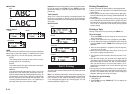
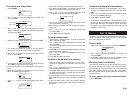
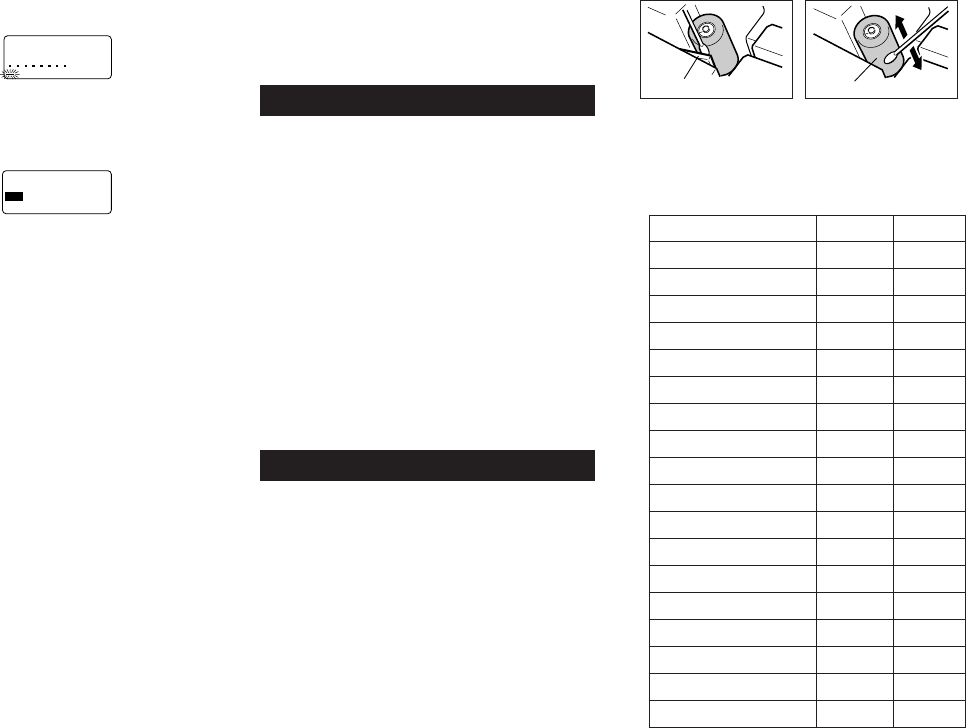
4. Use a cotton swab dipped in alcohol to clean the printer
head and roller as shown in the illustration.
5. Replace the tape cartridge and close the compartment
cover.
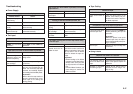
Initial Settings
The following are the initial settings of the label printer when-
ever you turn it power on or reset the unit.
Item Power On Reset
Display Cleared Cleared
Memory Retained Cleared
User Characters Retained Cleared
Horz/Vert Horizontal Horizontal
Text Alignment Left Left
Justification Justified Justified
Character Spacing Narrow Narrow
Block Length Auto Auto
Mirror Printing Normal Normal
Proportional Spacing On On
Smoothing On On
Block Spacing Narrow Narrow
Auto Feed Long Long
Tape Length Auto Auto
Block Alignment ****(Left) ****(Left)
Default Font Retained Sans-Serif
Insert/Overwrite Retained Insert
Contrast (32 levels) Retained Level 17
Printer head Roller