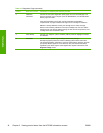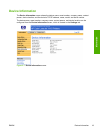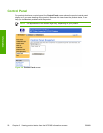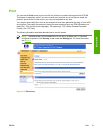
Configuring outgoing e-mail
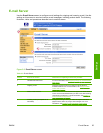
You must configure outgoing e-mail if you intend to use the Alerts or AutoSend features.
1 Gather the following information. (Your organization's network or e-mail administrator typically
provides the information that is required to configure outgoing mail.)
● The TCP/IP address of the simple mail transfer protocol (SMTP) mail server on your
network. The EWS uses the SMTP server TCP/IP address to relay e-mail messages to other
computers.
● The e-mail domain name suffix that is used to address e-mail messages within your
organization.
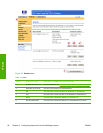
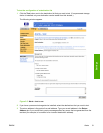
2 Select the Enable Outgoing E-mail check box.
3 Type the SMTP server TCP/IP address in the SMTP Server text box.
4 Type the domain name in the Domain Name text box.
5 Click Apply to save the changes.
Configuring incoming e-mail
You should configure incoming e-mail if you intend to request information pages from the product by
using e-mail messages. For more information, see
Sending e-mail commands to the product.
1 Establish a Post Office Protocol 3 (POP3) mailbox account for the product on a mail server within
your organization's network.
Each POP3 account requires a user name and a password. The username combined with the
product's domain name (which is specified in the outgoing mail configuration) is the e-mail
address for the product. For example, if the POP3 mailbox account username is "product" and
the POP3 server is "hp.com", the product's e-mail address is "product@hp.com".
NOTE Each product that is configured for incoming mail must have its own POP3
mailbox account on your network's e-mail server. The POP3 mailbox accounts are
typically configured by your organization's network or e-mail administrator.
CAUTION Make sure that you do not use your personal e-mail account. Doing so could
cause all of your e-mail to be deleted. You would receive no notification that this deletion
had taken place.
2 Select the Enable Incoming E-mail check box.
3 Type the TCP/IP address of the POP3 mail server in the POP3 Server text box.
4 Type username and password for the product's mailbox account, and then click Apply to save
the changes.
26 Chapter 3 Configuring the product from the Settings screens ENWW
Settings


