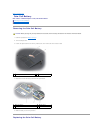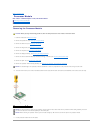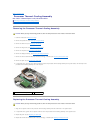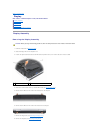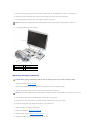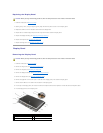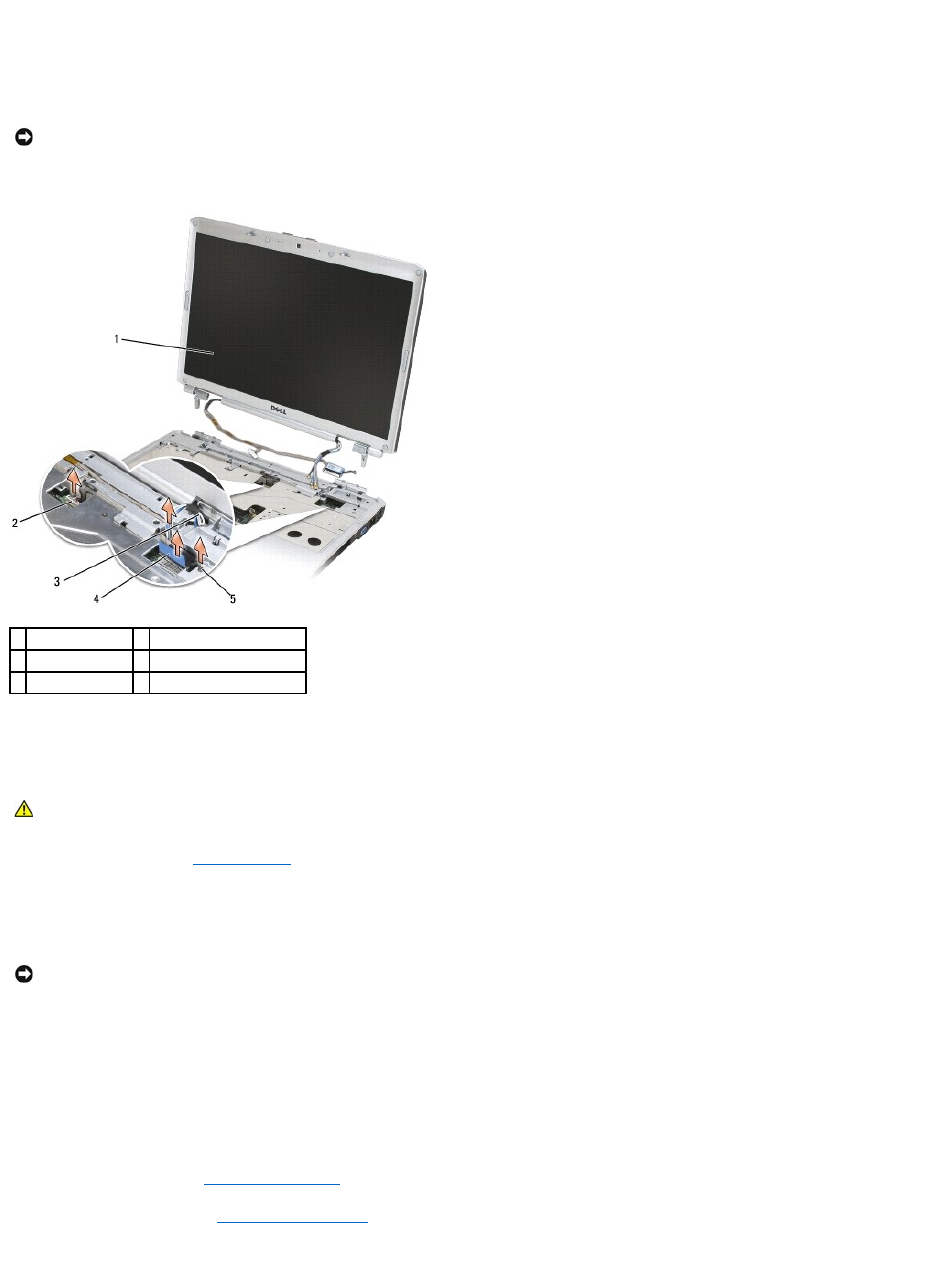
9. Loosen the captive grounding screw, then disconnect the display cable from the display cable connector on the system board.
10. Disconnect the camera/microphone cable from the camera/microphone cable connector on the system board.
11. Lift the display cable and antenna cables from beneath the tabs on the palm rest.
12. Lift the display assembly out of the computer.
Replacing the Display Assembly
1. Follow the instructions in Before You Begin.
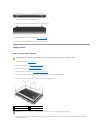
2. Align the display hinges with the holes in the base of the computer, then lower the display into place.
3. Slide the antenna cables through the hole in the palm rest and the base of the computer.
4. Route the display cable and antenna cables beneath the plastic tabs on the palm rest.
5. Connect the camera/microphone cable to the camera/microphone cable connector on the system board.
6. Connect the display cable to the display cable connector on the system board.
7. Replace and tighten the captive grounding screw.
8. Replace the keyboard (see Replacing the Keyboard).
9. Replace the hinge cover (see Replacing the Hinge Cover).
10. Replace the two M2.5 x 8-mm screws on the back of the computer.
NOTICE: Ensure that the display cable and the antenna cables do not get caught beneath the plastic tabs on the palm rest.
1
display assembly
2
camera/microphone cable
3
antenna cables
4
display cable
5
grounding screw
CAUTION: Before you begin the following procedure, follow the safety instructions in the Product Information Guide.
NOTICE: Ensure that the display cable and antenna cables are properly routed and secured beneath the plastic tabs on the palm rest.


