


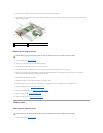


Replacing the Display Latch
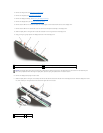
1. Align the notches in the display latch with the tabs on the display latch cover.
2. Gently press one side of the display latch into the display latch cover until it snaps into place, then press the remaining side of the latch into place.
When properly installed, the display latch moves back and forth freely on the display latch cover.
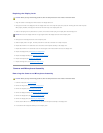
3. Slide the latch spring into the plastic sleeve, if present, then connect the latch spring to the display latch and the display cover.
4. Gently press on the display latch cover until it snaps into place.
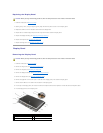
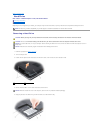
5. Slide the display latch to the right, and then press down on each side of the latch until it snaps into place.
6. Replace the two M2 x 3-mm screws that secure the camera and microphone assembly to the display cover.
7. Replace the two M2 x 3-mm screws that secure the inside edges of the wireless antenna covers to the display cover.
8. Replace the display bezel (see Replacing the Display Bezel).
9. Replace the display assembly (see Replacing the Display Assembly).
10. Replace the keyboard (see Replacing the Keyboard).
11. Replace the hinge cover (see Replacing the Hinge Cover).
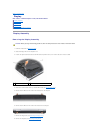
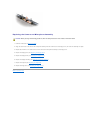
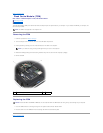
Camera and Microphone Assembly
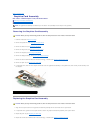
Removing the Camera and Microphone Assembly
1. Follow the instructions in Before You Begin.
2. Remove the hinge cover (see Removing the Hinge Cover).
3. Remove the keyboard (see Removing the Keyboard).
4. Remove the display assembly (see Removing the Display Assembly).
5. Remove the display bezel (see Removing the Display Bezel).
6. Remove the display panel (see Removing the Display Panel).
7. Remove the two M2 x 3-mm screws that secure the camera and microphone assembly to the display cover.
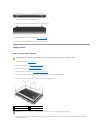
8. Lift the camera and microphone assembly out of the display cover.
CAUTION: Before you begin the following procedure, follow the safety instructions in the Product Information Guide.
NOTICE: Ensure that the display latch does not get caught between the display latch cover and the display cover.
CAUTION: Before you begin the following procedure, follow the safety instructions in the Product Information Guide.