48 Scanning
www.dell.com | support.dell.com
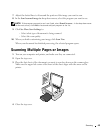
6 In the Send scanned image to: drop-down menu, select a program as your scan
destination. For example, choose Fax to scan an image you want to fax.
NOTE: If the program you want to use is not listed, select Search for more... in the drop-down menu.
On the next screen, click Add to locate and add your program to the list.
7
Click See More Scan Settings to:
– Select what type of document is being scanned.
– Select the scan quality.
8 Click Scan Now to complete your scan.
Scanning Photos
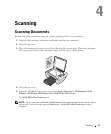
1 Turn on your computer and printer, and make sure they are connected.
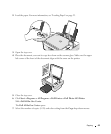
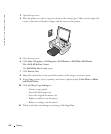
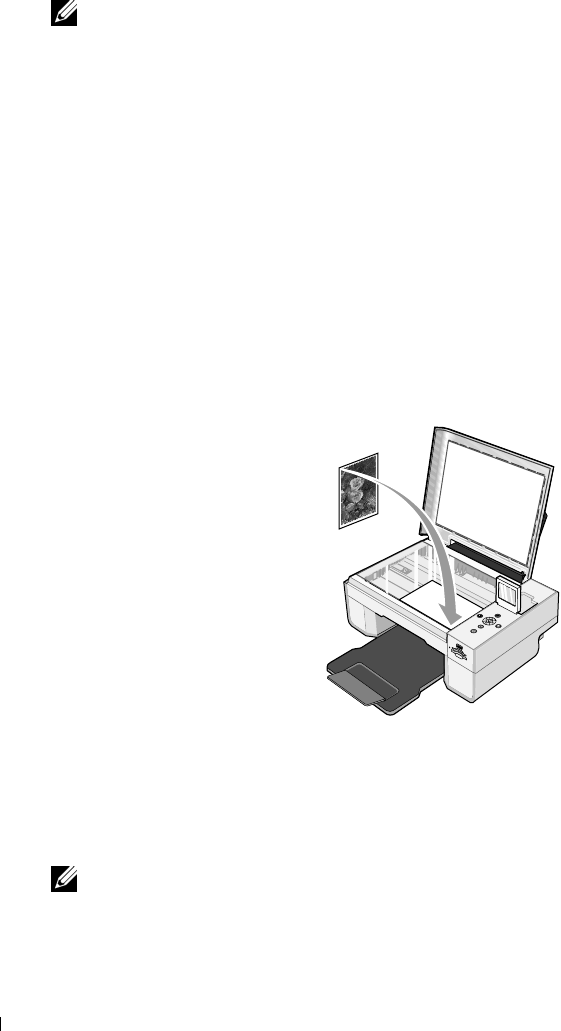
2 Open top cover.
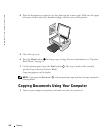
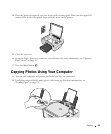
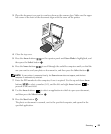
3 Place the photo you want to scan face down on the scanner glass. Make sure the upper left
corner of the front of the photo aligns with the arrow on the printer.
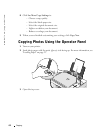
4 Close the top cover.
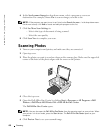
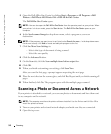
5 Open the Dell All-In-One Center by clicking Start→Programs or All Programs→Dell
Printers→Dell Photo AIO Printer 944→Dell All-In-One Center.
The Dell All-In-One Center opens.
NOTE: You can also open the Dell All-In-One Center from the operator panel on your printer. When
your printer is in Scan mode, press the Start button. The Dell All-In-One Center opens on your
computer.
6
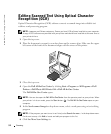
Click Preview Now to see your scanned image.


