


84 Installing System Components
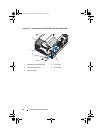
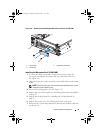
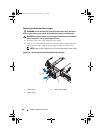
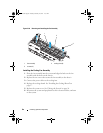
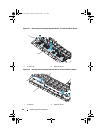
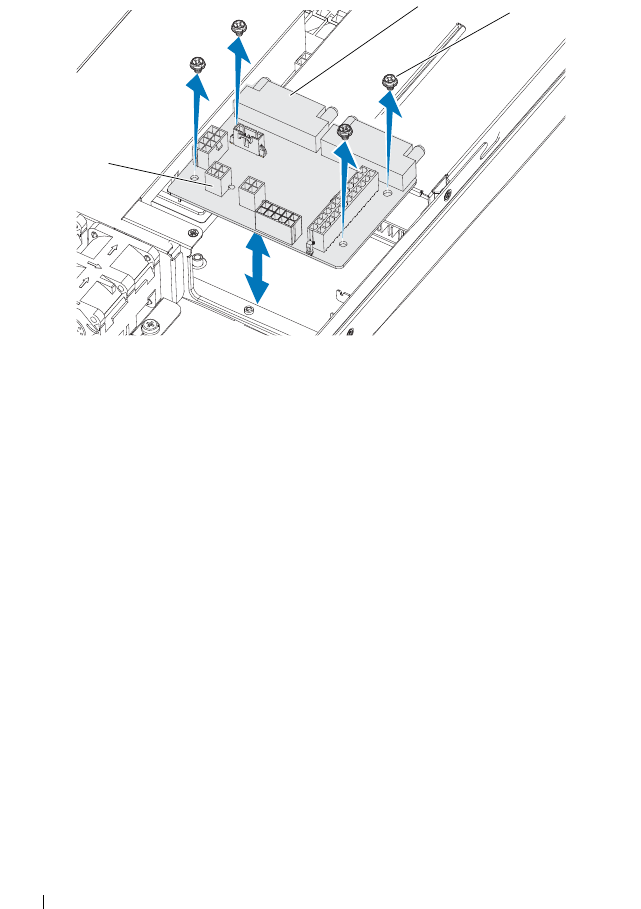
Figure 3-19. Removing and Installing the Power Distribution Board
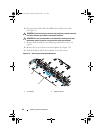
Installing the Power Distribution Board
1
Place the power distribution board on the system and secure it with the
four screws. See Figure 3-19.
2
Connect the cables to the power distribution board. See Figure 5-7.
3
Connect the power distribution cables to the system board. See "System
Board" on page 96.
4
Install the expansion card riser. See "Installing the Expansion-Card Riser"
on page 70.
5
Install the power supplies to the system. See "Installing the Redundant
Power Supply" on page 83.
6
Install the cooling shroud. See "Installing the Cooling Shroud" on page 57.
7
Replace the system cover. See "Closing the System" on page 56.
8
Reconnect the system and peripherals to their electrical outlets, and turn
on the system.
1 fan module cable connector 2 power distribution board
3 screws (4)
3
2
1
book.book Page 84 Tuesday, February 26, 2013 11:33 AM