


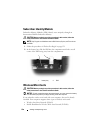


Adding and Replacing Parts 141
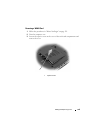
Replacing a WLAN Card
NOTICE: The connectors are keyed to ensure correct insertion. If you feel
resistance, check the connectors on the card and on the system board, and realign
the card.
NOTICE: To avoid damage to the WLAN card, never place cables under the card.
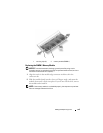
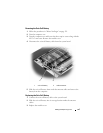
1
Insert the
WLAN
card connector at a 45-degree angle into the system
board connector labeled "WLAN".
2
Press the other end of the
WLAN
card down into the slot on the system
board until the card clicks into place.
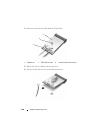
3
Replace the M2 x 3-mm screw.
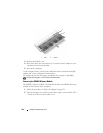
4
Connect the appropriate antenna cables to the
WLAN
card you are installing:
If the WLAN card has two triangles on the label (white and black),
connect the white antenna cable to the connector labeled "main" (white
triangle), and connect the black antenna cable to the connector labeled
"aux" (black triangle).
If the WLAN card has three triangles on the label (white, black, and gray),
connect the white antenna cable to the white triangle, connect the black
antenna cable to the black triangle, and connect the gray antenna cable to
the gray triangle.
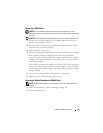
5
Secure unused antenna cables in the protective mylar sleeve.
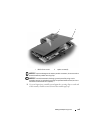
6
Replace the cover and tighten the captive screws.
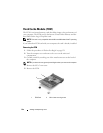
Removing a Mobile Broadband or WWAN Card
NOTE: WWAN is also available on an ExpressCard (see "Using ExpressCards" on
page 65).
1
Follow the procedures in "Before You Begin" on page 121.
2
Turn the computer over.