146 Adding and Replacing Parts
5
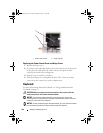
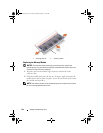
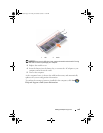
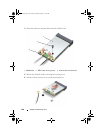
Release the
WLAN
card by removing the securing screw.
6
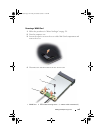
Lift the
WLAN card
out of its system board connector.
Replacing a WLAN Card
NOTICE: The connectors are keyed to ensure correct insertion. If you feel
resistance, check the connectors on the card and on the system board, and realign
the card.
NOTICE: To avoid damage to the WLAN card, never place cables under the card.
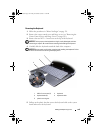
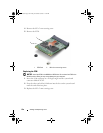
1
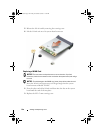
Insert the
WLAN
card connector at a 45-degree angle into the system
board connector labeled "WLAN".
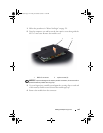
2
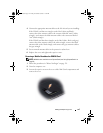
Press the other end of the
WLAN
card down into the slot on the system
board until the card clicks into place.
3
Replace the M2 x 3-mm securing screw.
book.book Page 146 Friday, November 30, 2007 11:28 AM


