254 Management: Installing Array Components
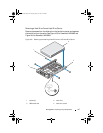
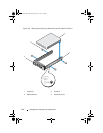
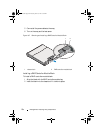
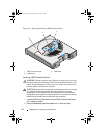
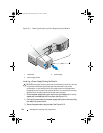
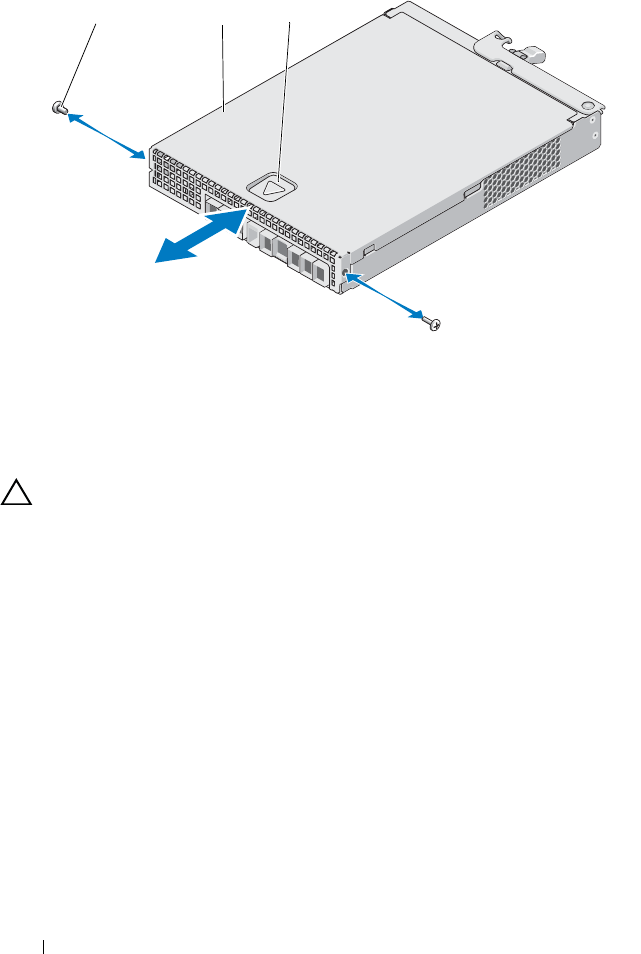
Figure 16-9. Opening and Closing the RAID Controller Module
Closing the RAID Controller Module
CAUTION: Many repairs may only be done by a certified service technician. You must
only perform troubleshooting and simple repairs as authorized in your product
documentation, or as directed by the online or telephone service and support team.
Damage due to servicing that is not authorized by Dell is not covered by your warranty.
Read and follow the safety instructions that came with the product.
1
Place the cover onto the RAID controller module and offset it slightly
towards the back, so that the hooks on the cover fit over the corresponding
slots on the RAID controller module.
2
Slide the cover toward the front till it snaps into place. See Figure 16-9.
3
Replace the screws on the RAID controller module. See Figure 16-9.
4
Connect all the cables to the array. If SFP transceivers and fiber optic
cables were previously in place, reinstall them in the correct ports.
5
Turn on the array and the host server.
1 screws (2) 2 RAID controller module
3 indent
1
2
3
book.book Page 254 Tuesday, June 18, 2013 3:03 PM


