


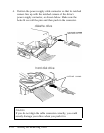
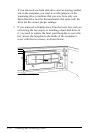


Post-installation Procedures
After you install or remove your drive(s) and replace the
computer’s cover, follow the necessary steps below to make
sure your new configuration works properly:
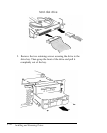
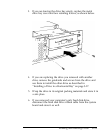
1.
2.
3.
4.
Run the SETUP program to configure your computer for
your new set of drives. See Chapter 2 of the
Setup Guide
for
instructions.
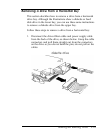
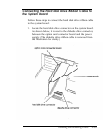
If you installed a non-IDE hard disk drive (which requires a
separate controller card to control it), you need to run the
SETUP program to disable the built-in IDE hard disk drive
interface. You may also need to format the drive before you
can use it. (All Epson drives are sold already formatted.)
Check the manual that came with the drive to see if it is
already formatted. If not, see Chapter 5 for instructions.
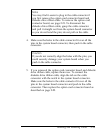
If you want to be able to load your operating system from a
new hard disk drive, you need to install it on the drive. See
the documentation that came with your operating system
for instructions.
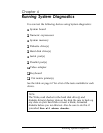
You may also want to test a newly-installed drive. See
Chapter 4 for instructions on using the system diagnostic
program on your Reference diskette to test your drives.
3-36
Installing and Removing Drives