


Maintaining Your Printer
29
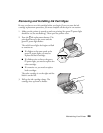
Removing and Installing Ink Cartridges
Be sure you have a new ink cartridge before you begin. Once you start the ink
cartridge replacement procedure, you must complete all the steps in one session.
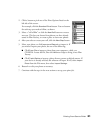
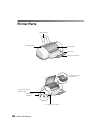
1. Make sure the printer is turned on and not printing (the green
P power light
should be on, but not flashing). Then open the printer cover.
2. Press the
e ink replacement button. The
print head moves to the center and the
green
P power light flashes.
The red
b
error light also begins to flash
or remains on.
■
If it flashes at the same speed as the
green
P power light, you need to
replace the black cartridge.
■
If it flashes twice as fast as the green
P power light, you need to replace the
color cartridge.
■
If it remains on, you need to replace
both cartridges.
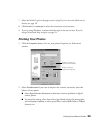
The color cartridge is on the right and the
black is on the left.
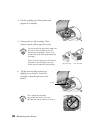
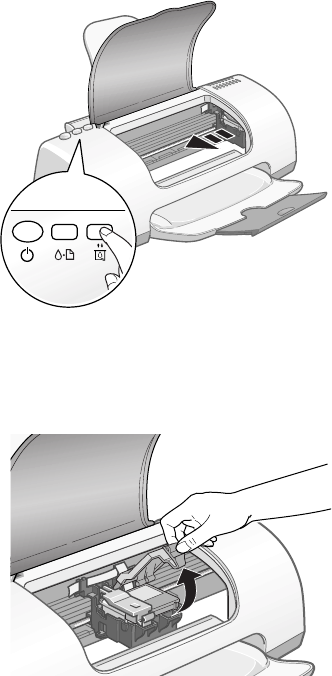
3. Pull up the ink cartridge clamp. The
cartridge rises up from its holder.