


13
Setting Up the Projector
Follow the instructions in this section to choose a location for the projector, connect the
cables, and display and adjust the image.
Choosing a Location
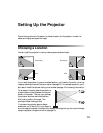
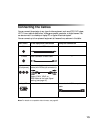
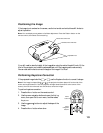
You can install the projector for various viewing setups, as shown below.
If you install the projector in a rear or overhead position, you’ll need to flip and/or mirror the
image by selecting the correct Projection option (see page 18). For overhead projection, you’ll
also need to install the optional ceiling mount bracket (see page 10 for ordering information).
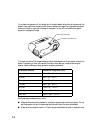
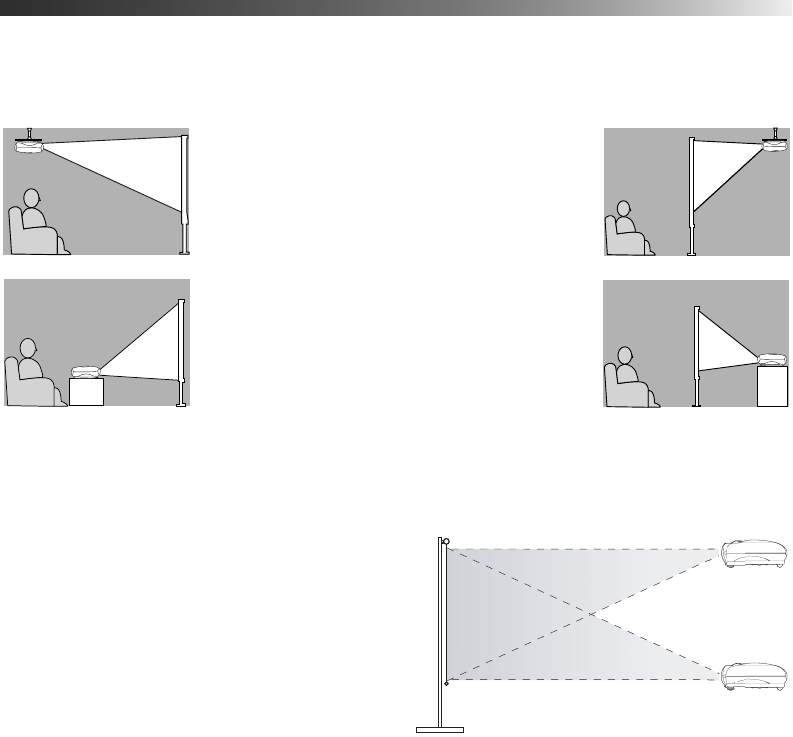
For all setups, it’s best to place the projector at
a height where its lens is between the top and
bottom of the screen. That way, you can keep
the projector level and use the vertical lens
shift knob to position the image. This
produces the best-looking picture.
If you place the projector above or below
screen level, you’ll have to tilt it up or down to
aim the image at the screen; this distorts the shape of the image, but you can correct its shape
using the projector’s Keystone function (see page 19).
Front
Front/Ceiling
Rear
Rear/Ceiling