


3-2
Setting up the Printer with Your Computer
R4C4850
Setup Guide Rev.C
SETTING.FM A5 size
8/21/00
L
Proof Sign-off:
DAI A. Kobayashi K. Araki
K. Nishi
DAI K. Ramsey
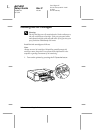
Connecting the Printer
The method you use to connect the printer to your computer
depends on whether you want to send print jobs directly to the
printer using the printer’s built-in parallel interface or a USB
connection, or send print jobs to the printer over a network using
an optional interface card. To connect the printer using the built-
in parallel interface, see the next section. To connect the printer
using a USB connection, see “Using a USB connection (For
Windows Me, 98, 2000, and Macintosh)” on page 3-3. For
information on using optional interface cards, see “Using an
optional interface card” on page 3-4.
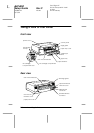
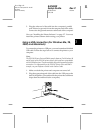
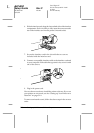
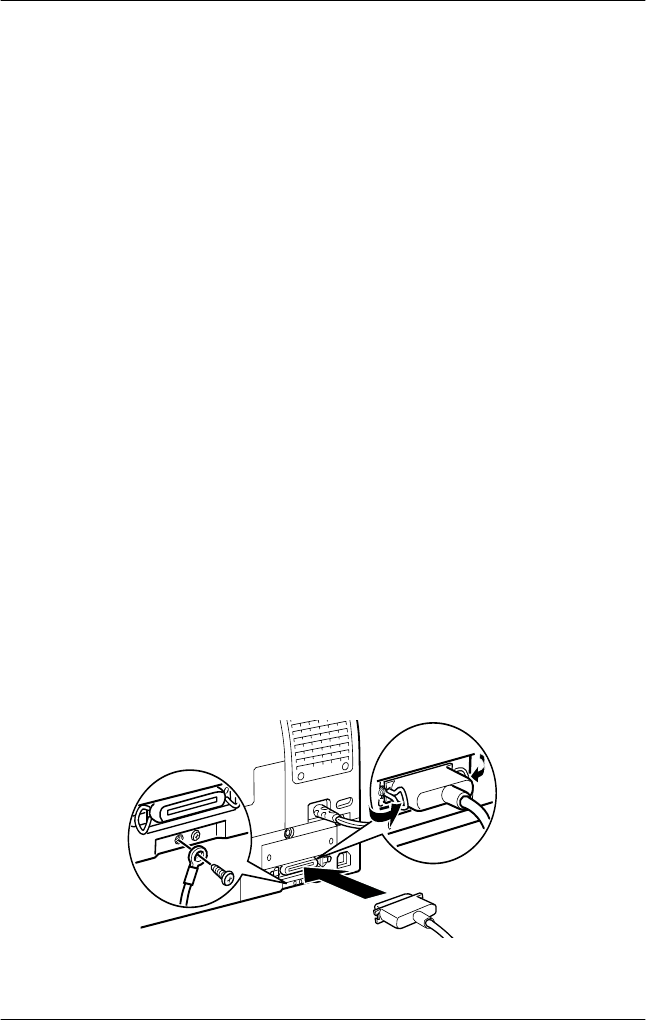
Using the built-in parallel interface for PCs
To use the printer’s built-in parallel interface, you will need a
shielded, twisted-pair cable. Follow the steps below to connect
the printer to your computer.
1. Make sure both the printer and computer are turned off.
2. Plug the cable connector securely into the printer’s parallel
interface connector. Then squeeze the wire clips together until
they lock into place on both sides. If your cable has a ground
wire, connect it to the ground connector beside the printer’s
parallel interface connector.