


Epson Stylus Photo RX600
6 - Epson Stylus Photo RX600 2/04
Selecting the Correct Media Type
Select the paper Type (Windows) or Media Type (Macintosh)
setting according to these guidelines:
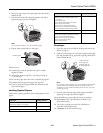
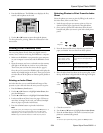
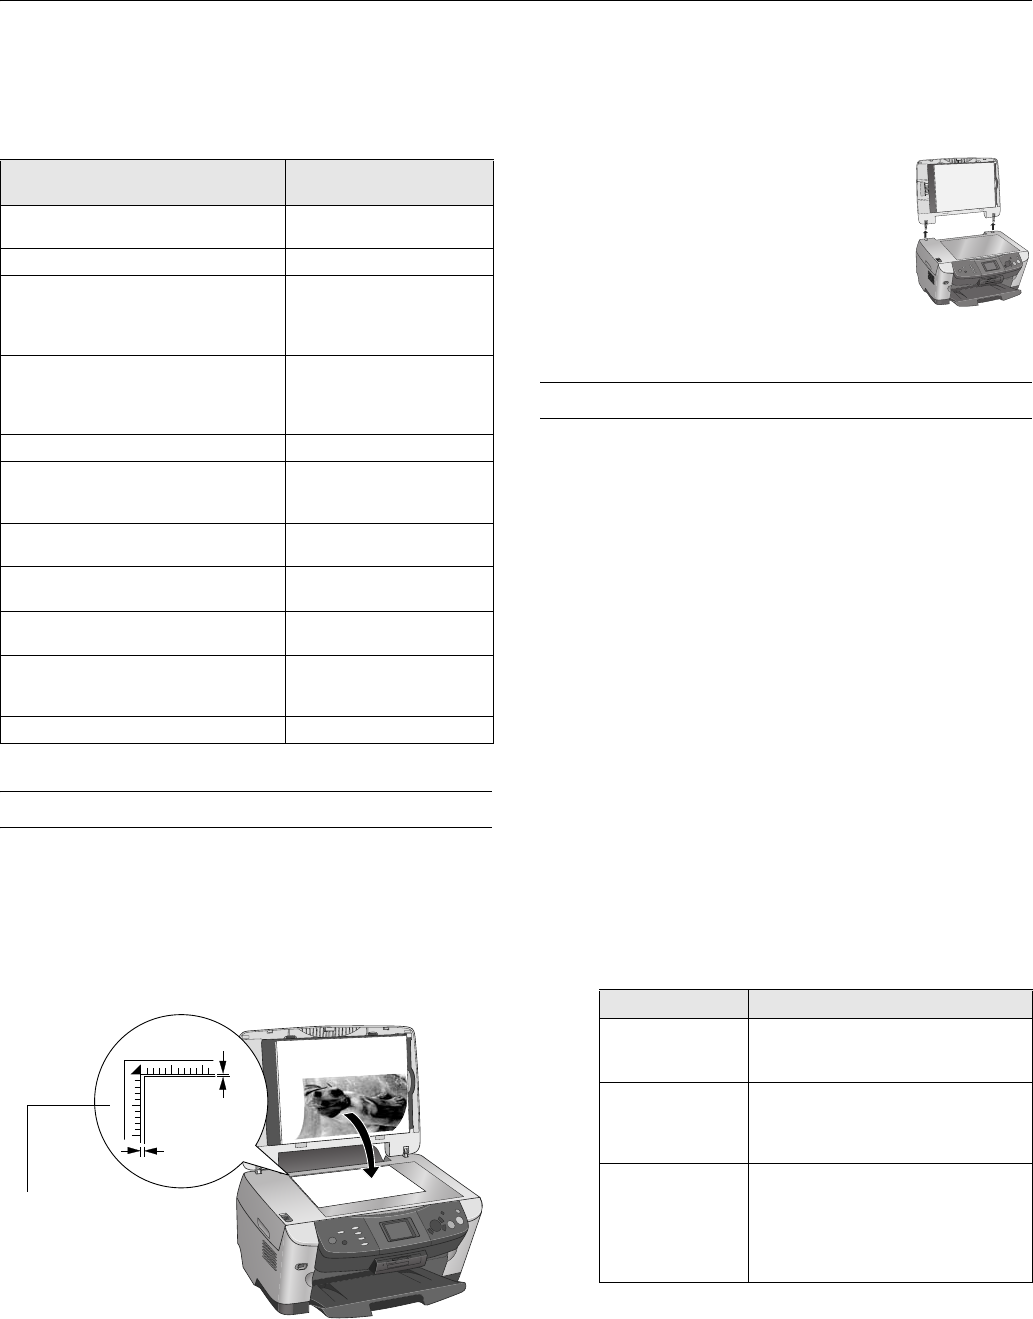
Placing the Original Document
Follow these steps to position a photo or document to scan or
copy:
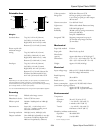
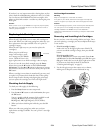
1. Open the scanner lid.
2. Place your photo or document face-down on the glass in the
upper left corner about 1/10 inch from the edges, as shown.
3. Close the scanner lid.
Note:
If you place your photo or document against the edge of the
glass, the edges of your photo or document may not be copied.
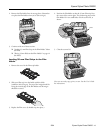
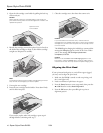
To scan or copy a thick document, you can
remove the scanner lid. Turn off the RX600,
and open the scanner lid completely. Then
disconnect the cord from the TPU connector
and pull the lid straight up. Turn on the RX600
and gently press down the original to keep it
flat on the scanner glass as you scan. When
you’re finished, be sure to turn off the RX600
before replacing the scanner lid and plugging
in the connector.
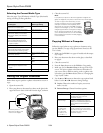
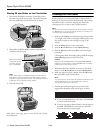
Copying Without a Computer
Follow the steps below to copy a photo or document using
just the RX600. (To copy using Epson Smart Panel, see the
User’s Guide.)
1. Make sure the RX600 is on, paper is loaded, and the output
tray is open.
2. Place your document face-down on the glass, as described
on page 6.
3. Close the scanner lid.
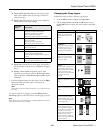
4. Press the
Copy button to set the RX600 to Copy mode.
5. Make sure you see
Standard Copy at the top of the LCD
screen. This prints a photo or document with borders. If
you want to select a different setting, such as a photo with
no borders, press the
Menu button, then see “Changing the
Copy Layout” below.
6. Use the u and d buttons to choose the copy options listed
below. Use the l and r buttons to change settings.
❏
Copies: Choose the number of copies you want to
make (1 to 99).
❏
Reduce/Enlarge: Choose from these options:
For this paper
Select this Type or
Media Type setting
Plain paper sheets or envelopes
Epson Iron-on Transfer paper
Plain paper
Epson Premium Bright White Paper Bright White Paper
Epson Photo Quality Ink Jet Paper
Epson Photo Quality Ink Jet Cards
Epson Photo Quality Self Adhesive
Sheets
Photo Quality Ink Jet Paper
Epson Matte Paper Heavyweight
Epson Double-Sided Matte Paper
PremierArt Matte Scrapbook Photo
Paper for Epson
Matte Paper - Heavyweight
Epson Photo Paper Photo Paper
Epson Glossy Photo Paper
Epson All-Purpose Glossy Photo Paper
Epson Glossy Photo Greeting Cards
Glossy Photo Paper
Epson Premium Glossy Photo Paper
Epson Photo Stickers
Premium Glossy Photo
Paper
Epson Premium Luster Photo Paper Premium Luster Photo
Paper
Epson Premium Semigloss Photo Paper Premium Semigloss Photo
Paper
Epson ColorLife Photo Paper
Epson Semigloss Scrapbook Photo
Paper
ColorLife Photo Paper
Epson Ink Jet Transparencies Ink Jet Transparencies
0.1 in
0.1 in
Move the photo or
document in about 1/10
inch from the edges
Setting Result
Actual Prints the image at its original size. Do
not select this when you want
BorderFree copying.
Auto Fit Page Reduces or enlarges the image, as
needed, to fit the selected paper size.
Always select this for BorderFree
copying.
Letter Æ 4 × 6
4 × 6 Æ Letter
Letter Æ 5 × 7
5 × 7 Æ Letter
4 × 6 Æ 8 × 10
8 × 10 Æ 5 × 7
Converts the original document size (to
the left of the arrow) to the finished
copy size (to the right of the arrow). Do
not select this when you want
BorderFree copying.