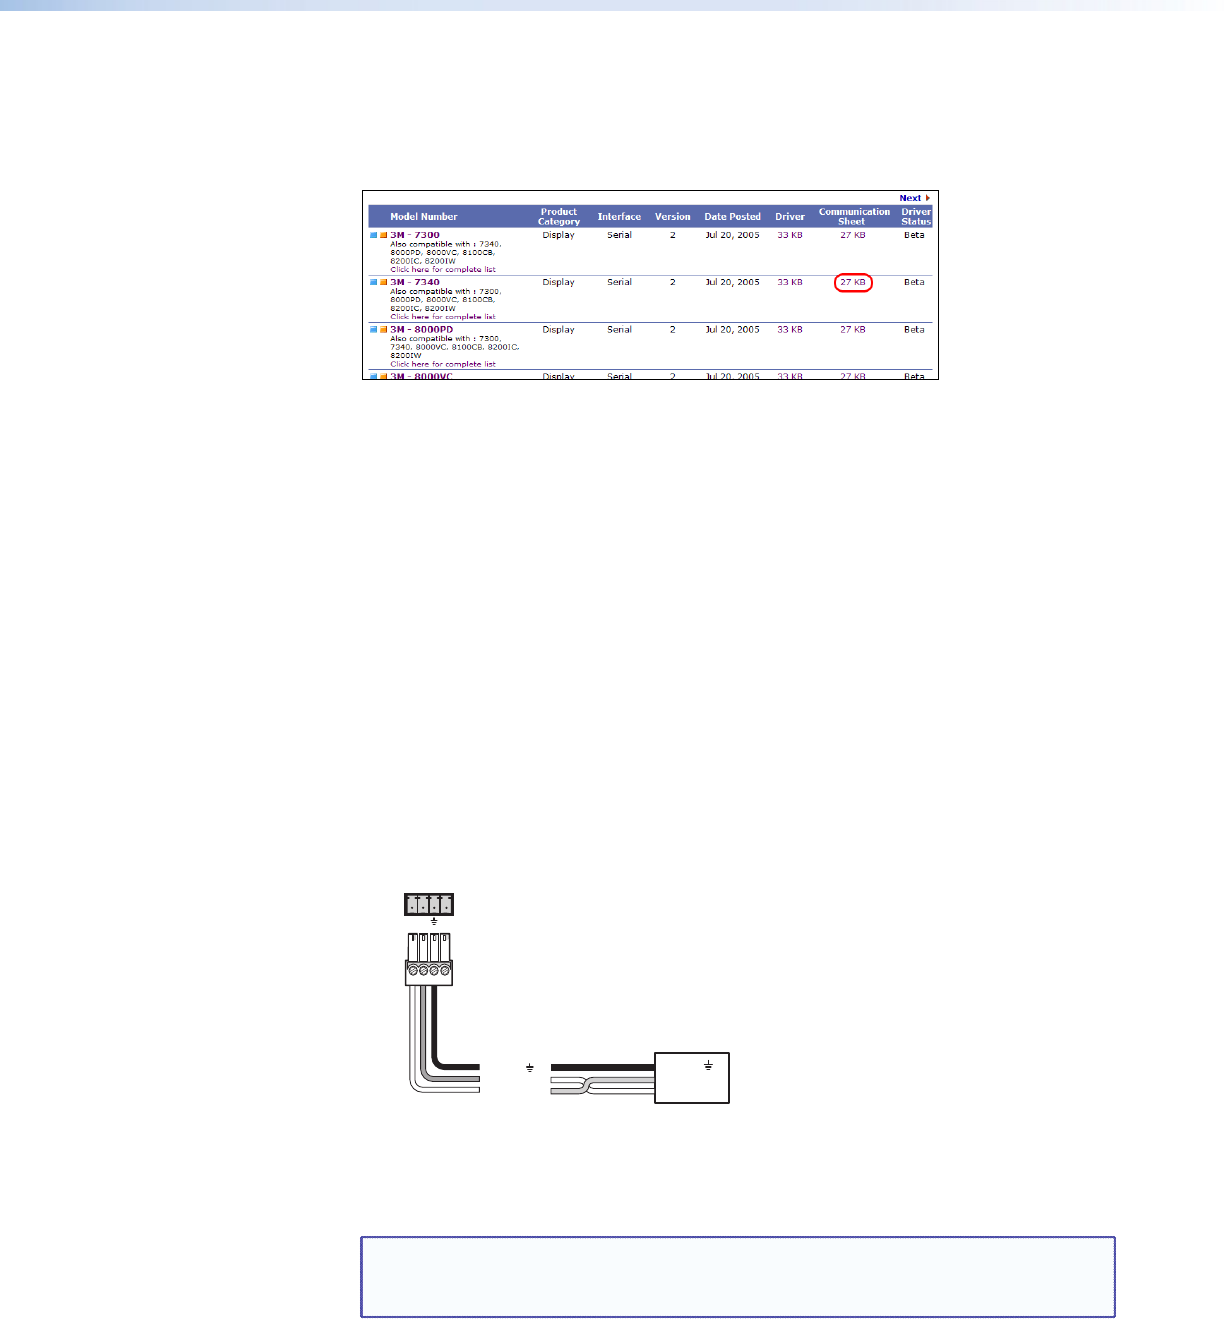
5. On the drivers list, locate the model name of your output device. In the row for your
device, click on the nnKb link in the Communication Sheet column.
In figure 4, below, the Communication sheet link for a 3M-7340 display has been
selected.
Figure 4. Communication Sheet Access
6. The communication sheet (a PDF file) opens. You can view, print, or download it.
7. Wire your display device as described in its communication sheet.
You can also access the Communication Sheets via the Global Configurator software (see
the IPL T PC1 Setup Guide for information on using GC3.2).
Connecting the Display Device
To connect the display device to the PC1:
1. Wire an RS-232 cable to the provided 4-pole captive screw connector, as described
below. Use only the rst three pins of the connector, starting from the left.
a. Connect the wire from the Receive port of the display to the first pin (on the left) of
the connector, which plugs into the PC1 Tx (Transmit) port.
b. Connect the wire from the Transmit port of the display to the second pin of the
connector, which plugs into the PC1 Rx (Receive) port.
c. Connect the ground wire from the display to the third pin of the connector, which
plugs into the PC1 ground (_) port.
RS-232
IPL T PC1
Rear Panel
RS-232 Port
Tx Rx +5V
Ground ( )
Transmit (Tx)
Receive (Rx)
Display
Device
Ground ( )
Receive (Rx)
Transmit (Tx)
Bidirectional
Figure 5. Connecting an Output Device to the RS-232 Port
2. Plug the cable into the RS-232 receptacle on the PC1 rear panel.
NOTE: The RS-232 port is by default a control port. If you want to use it to
configure the PC1, you must perform a mode 2 reset (see “Resetting” in
the “Front Panel Features and Operation” section).
IPL T PC1 • Installation and Rear Panels 7
